Our readers keep the lights on and my smoothie glass nicely filled. As an Amazon Associate, I earn from qualifying purchases.
A dime-sized rock chip on your morning commute — ignore it and a repair turns into a windshield replacement. A quality DIY windshield repair kit fills the void with optically clear resin, restores structural integrity, and halts crack propagation across your glass before winter temperatures or summer heat make it worse. The difference between a clean fix and a spiderwebbed mess comes down to the resin’s viscosity, the vacuum pressure applied, and the UV curing lamp’s output.
I’m Mohammad Maruf — the founder and writer behind WellFizz. I’ve spent hundreds of hours cross-referencing resin chemistry, injector bridge designs, curing light wavelengths, and real-world user outcomes to separate the kits that deliver near-invisible repairs from the ones that leave a cloudy mess.
This guide breaks down the five most reliable formulations on the market, comparing vacuum pressure ratings, curing times, resin yield per bottle, and damage-size limits so you can confidently choose the best diy windshield repair kit for your specific crack pattern.
How To Choose The Best DIY Windshield Repair Kit
Most first-time buyers assume repairing a rock chip is simply squeezing glue into a hole. The reality involves matching the kit’s pressure system to the damage geometry, the resin’s refractive index to your windshield glass, and the UV lamp’s spectral output to the resin’s curing chemistry. Here are the three specifications that determine whether your repair is invisible or blotchy.
Vacuum Pressure and Injector Design
The single biggest variable in repair quality is how well the kit evacuates air from the crack before injecting resin. Kits with a bridge-style injector that creates a seal around the damage and draws a vacuum of 20 PA or higher force resin deep into the fracture network, eliminating bubbles that scatter light. Squeeze-bottle-only kits lack this negative-pressure cycle and often leave micro-voids that appear as cloudy spots once the repair cures.
Resin Viscosity and Tint
Thin, low-viscosity resin flows into hairline cracks and star-break legs more effectively than thick gel, but it also cures faster and requires precise UV timing. Some kits add a grey or blue tint to the resin to reduce light refraction through crushed glass particles — this makes repairs less visible on darker windshields but may appear mismatched on lighter glass. For bullseye damage with a large central void, clear high-viscosity resin often provides better structural fill.
Curing Lamp Output and Timer Flexibility
Not all UV lights are the same. A curing lamp with adjustable timer settings (2-minute and 4-minute cycles) and a broad UV-A spectrum (365–405 nm) ensures the resin polymerizes evenly from the bottom of the crack upward. Single-speed lamps risk under-curing thick repairs or over-curing thin ones, both of which compromise clarity and long-term adhesion. Look for kits that let you match exposure time to damage depth.
Quick Comparison
On smaller screens, swipe sideways to see the full table.
| Model | Category | Best For | Key Spec | Amazon |
|---|---|---|---|---|
| GLASWELD Resin | Professional | Multiple repairs, business use | ~100 repairs per 15 ml bottle | Amazon |
| Rain-X 2-Pack | Mid-Range | Multiple chips on several cars | 2-pack, advanced resin formula | Amazon |
| BLUTOKS Sunset | Mid-Range | Varied damage types, fast cure | 20 PA vacuum holder, 2 UV modes | Amazon |
| CLAMPER 4-Piece | Mid-Range | Cold weather, no running streaks | 20 PA vacuum, 2/4 min UV timer | Amazon |
| FTSJVE USB-C Kit | Entry-Level | Simple chips, budget buy | USB-C curing lamp, 1.44 oz weight | Amazon |
In‑Depth Reviews
1. GlasWeld Windshield Repair Resin
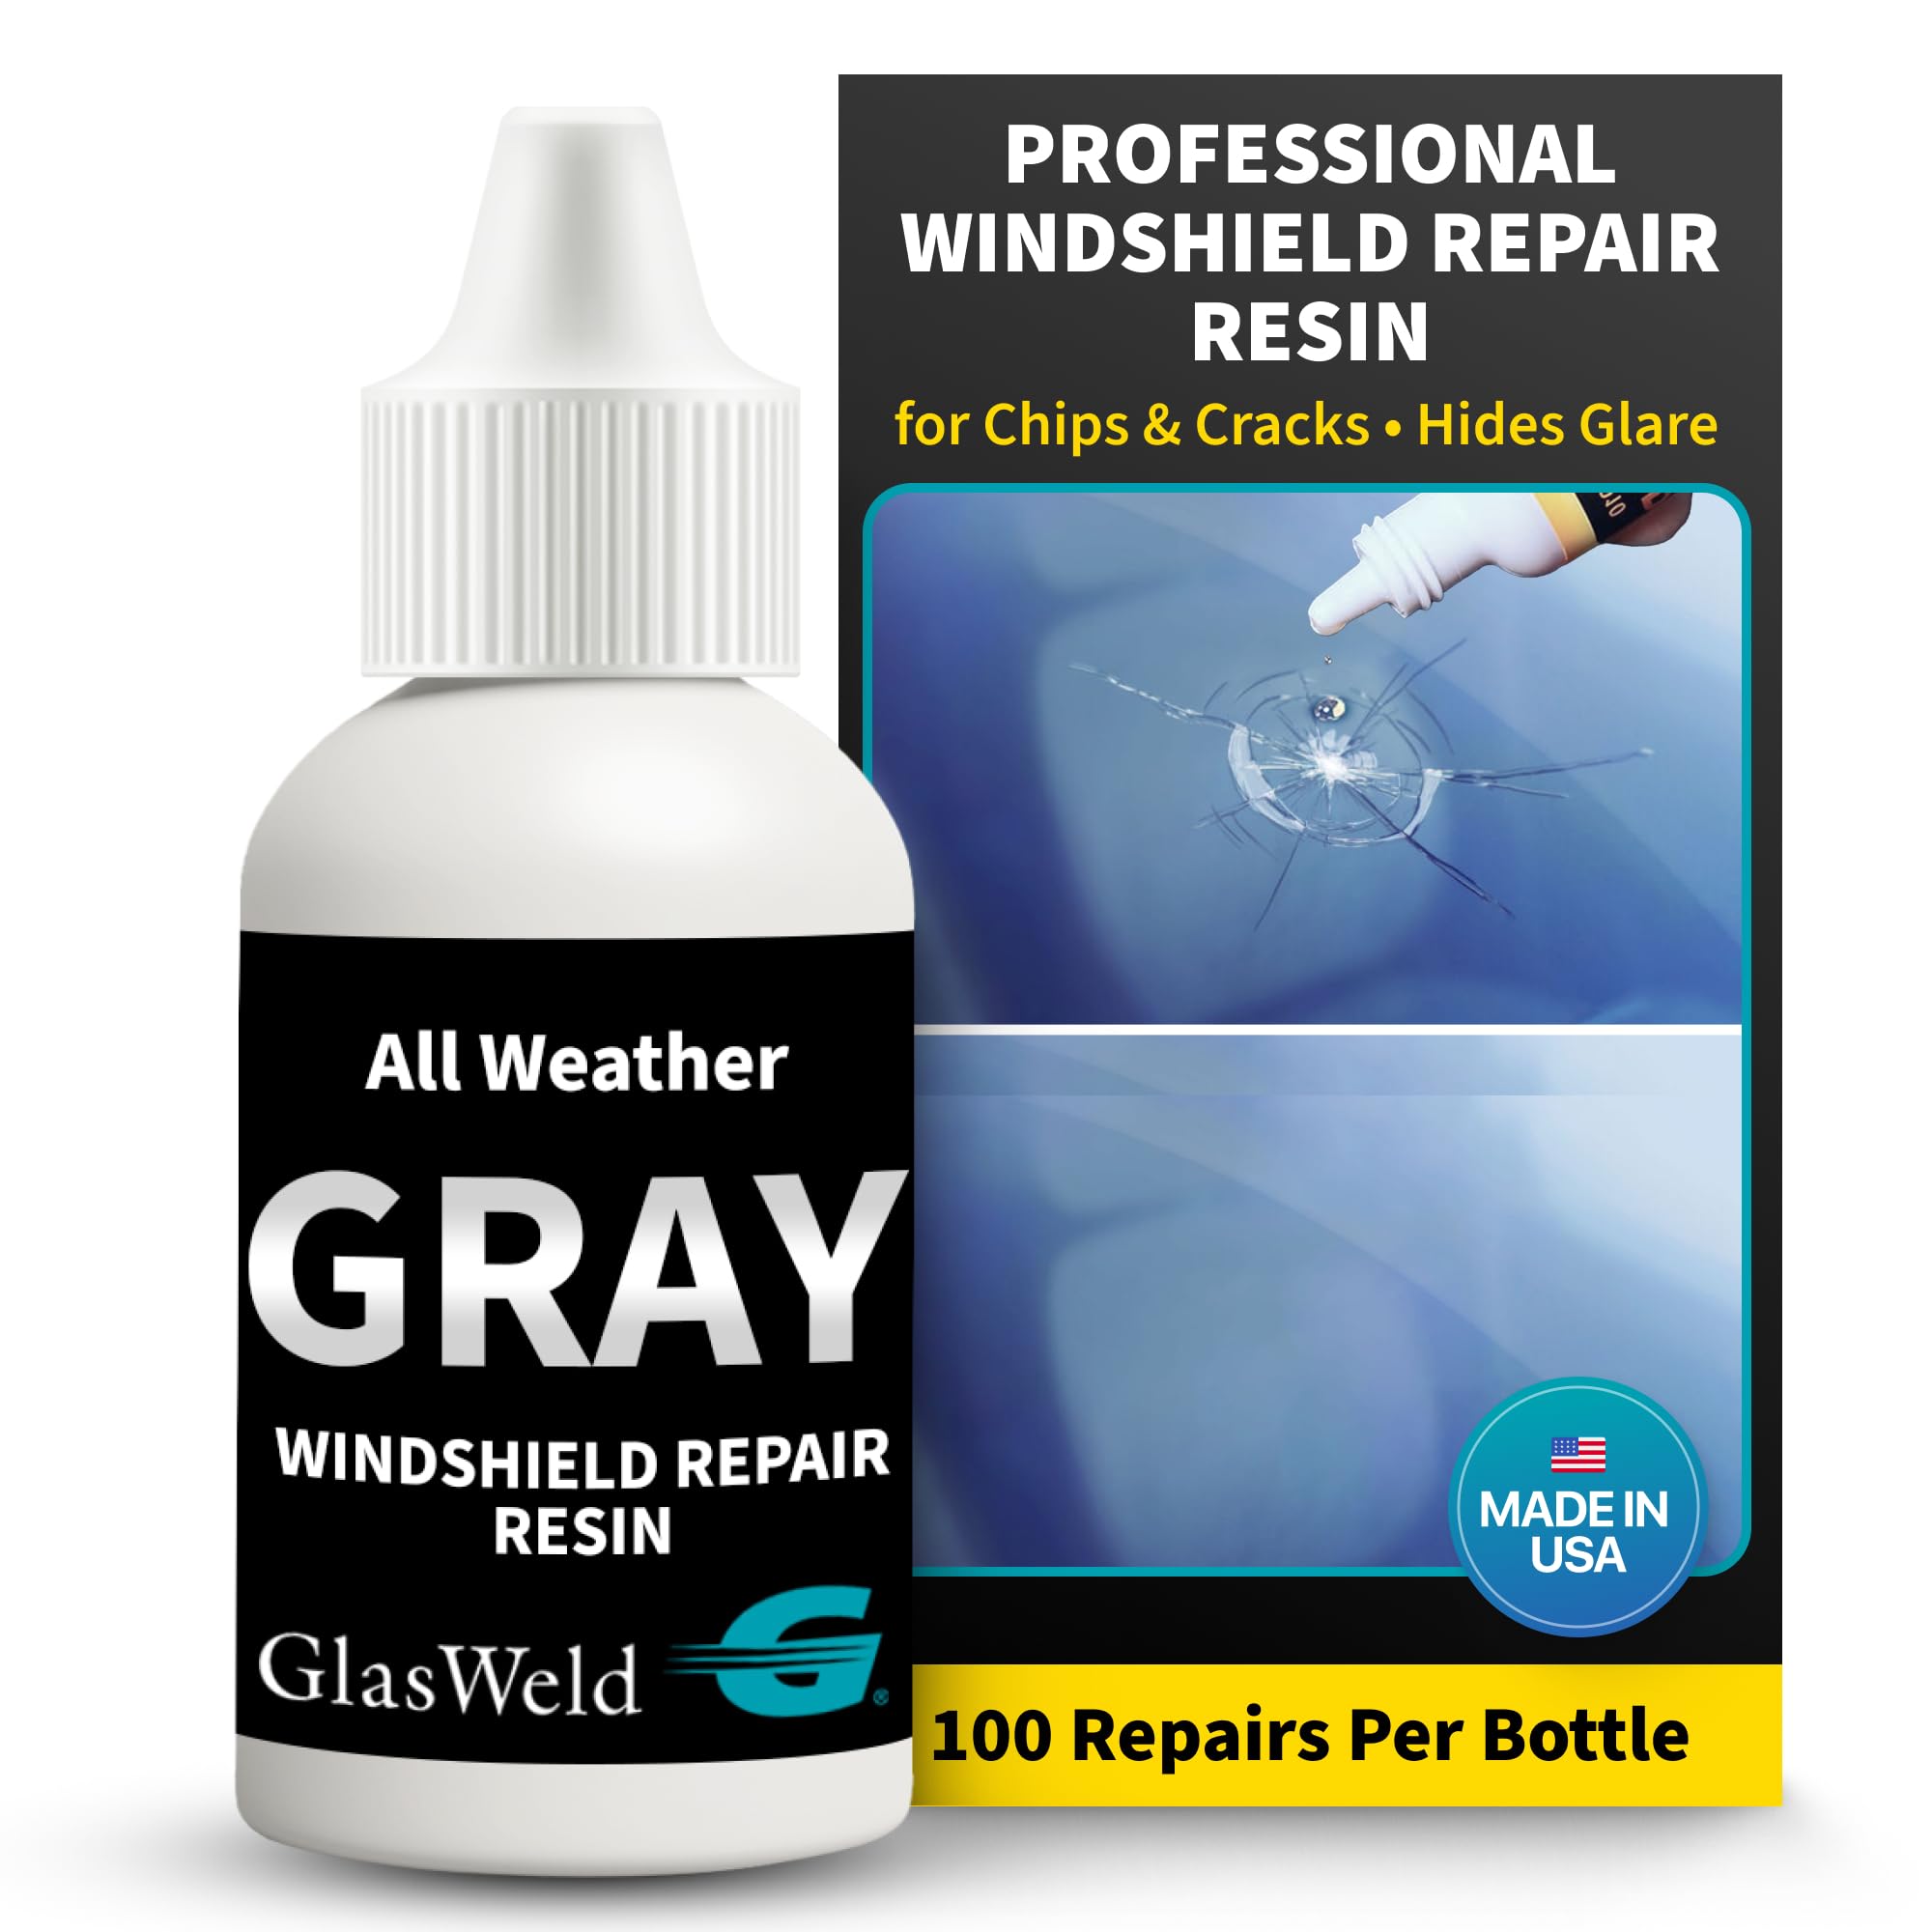
GlasWeld’s resin is the only entry on this list formulated for injector-based professional equipment rather than squeeze-bottle application. The 15 ml bottle yields approximately 100 individual repairs — a cost-per-fix that drops well below a dollar when amortized across a fleet or frequent-use scenario. The grey tint reduces light refraction through crushed glass particles, which makes combination breaks and star fractures visually disappear on most factory windshields.
The all-weather formulation stays fluid across cold and warm climates without thickening or separating, which matters when you’re repairing in an unheated garage during winter. Proper vacuum and pressure cycles are required to fully penetrate the break, meaning this resin pairs best with a bridge-style injector that draws a seal around the damage — not a standalone squeeze bottle.
Users report that cured repairs resist yellowing and chalking for years, though the grey tint may appear slightly mismatched on very clear or aftermarket glass. For anyone who repairs windshields regularly — whether detailing multiple vehicles or running a small mobile service — this is the highest-yield, most consistent formula available at retail.
Why it’s great
- Highest per-bottle yield (~100 repairs)
- Grey tint conceals crushed glass effectively
- All-weather stable viscosity
Good to know
- Requires professional injector — not a standalone kit
- Grey tint may not match all glass types
2. Rain-X Fix a Windshield 2-Pack

Rain-X’s 2-pack delivers the most straightforward application process in this lineup — no vacuum bridge, no adjustable UV lamp, just a syringe-style injector, curing film, and razor blade. The advanced resin formula penetrates bullseyes and star breaks up to about 1 inch in diameter with minimal effort, and the two-kit bundle covers multiple repairs across different vehicles or repeated attempts on stubborn chips.
The injector design uses a simple screw-down pressure system rather than a vacuum seal, which works reliably on shallow chips but may struggle to force resin into the legs of longer star fractures. Users consistently report that applying more resin than the instructions suggest — letting excess roll off the glass during the pressure cycle — yields clearer results on deeper damage.
At just a few minutes per repair including curing time, this kit is the fastest route from chip to finished fix for drivers who want a proven, no-fuss solution. The compact packaging fits easily in a glovebox, making it a practical emergency tool for cross-country road trips where a new chip could appear at any mile marker.
Why it’s great
- Two kits cover multiple repairs
- Fastest application process (no vacuum setup)
- Compact enough for glovebox storage
Good to know
- Screw-down injector lacks vacuum seal for deep cracks
- Requires more resin than stated for best clarity
3. BLUTOKS Windshield Chip Repair Kit
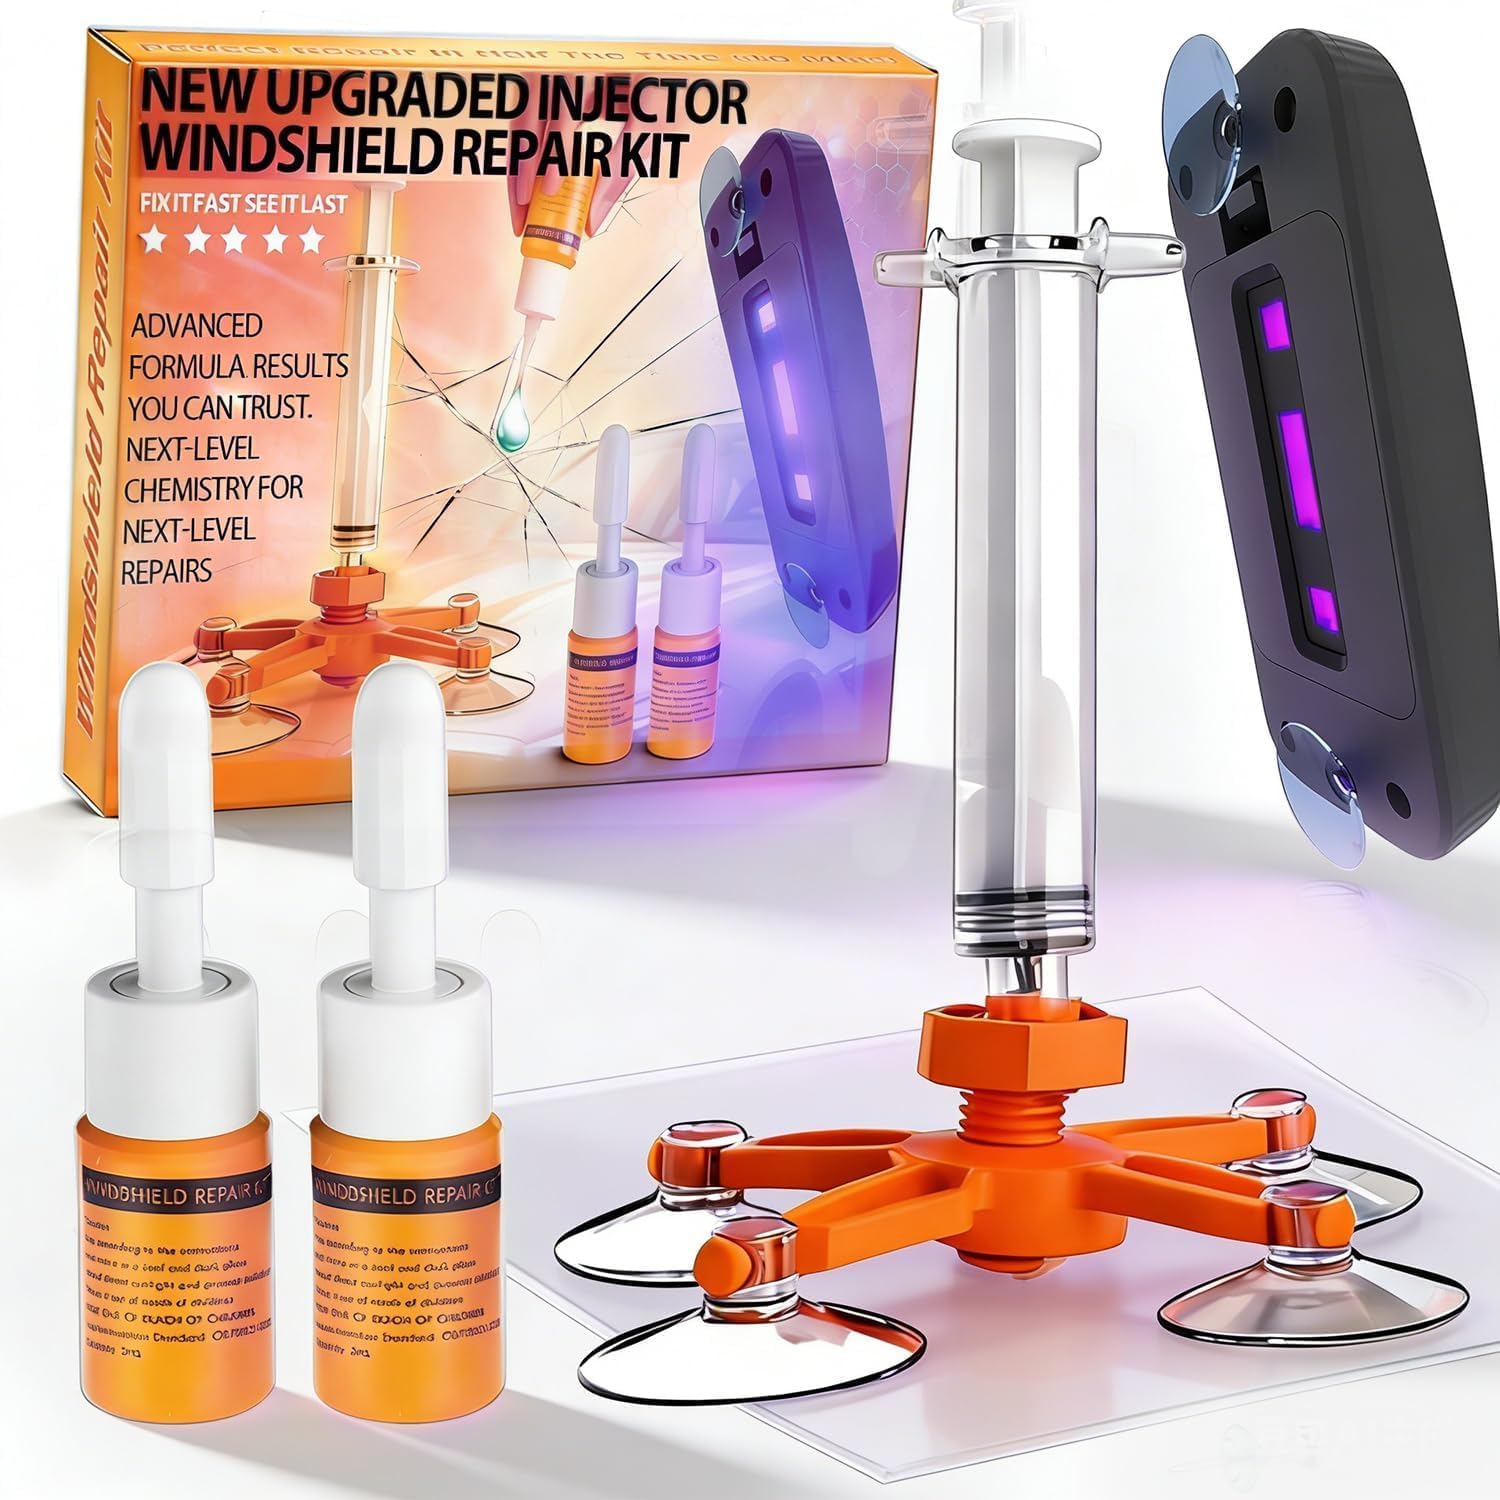
BLUTOKS packs professional-grade vacuum technology into a home-user price point. The 20 PA vacuum holder creates an airtight seal around the damage, forcing the no-mix resin into even the narrowest crack legs before the UV curing lamp locks the repair in place. With multiple timer settings and two light exposure modes (full and half), you can match the cure cycle to the damage depth — short bursts for shallow chips, longer exposure for deep bullseyes.
The resin itself has a notably low odor and applies smoothly without bubbles, thanks to the vacuum-driven injection cycle that evacuates trapped air before the liquid flows in. Users describe the cured finish as nearly invisible on star breaks and half-moon cracks up to 12 inches long, with no haziness or discoloration around the repair edge.
The kit includes everything in organized packaging — bridge injector, UV light, resin, curing film, razor, and scraper — so there’s no need to purchase additional tools for a complete repair. For drivers who want the structural benefits of a vacuum-assisted repair without stepping up to professional-grade equipment, this is the most balanced kit in the mid-range tier.
Why it’s great
- 20 PA vacuum seal for deep resin penetration
- Adjustable UV timer and exposure modes
- Low-odor, bubble-free resin formula
Good to know
- Vacuum bridge setup takes slightly longer than squeeze-bottle kits
- Resin volume sufficient for 2-3 large repairs only
4. CLAMPER Windshield Repair Kit 4-Piece
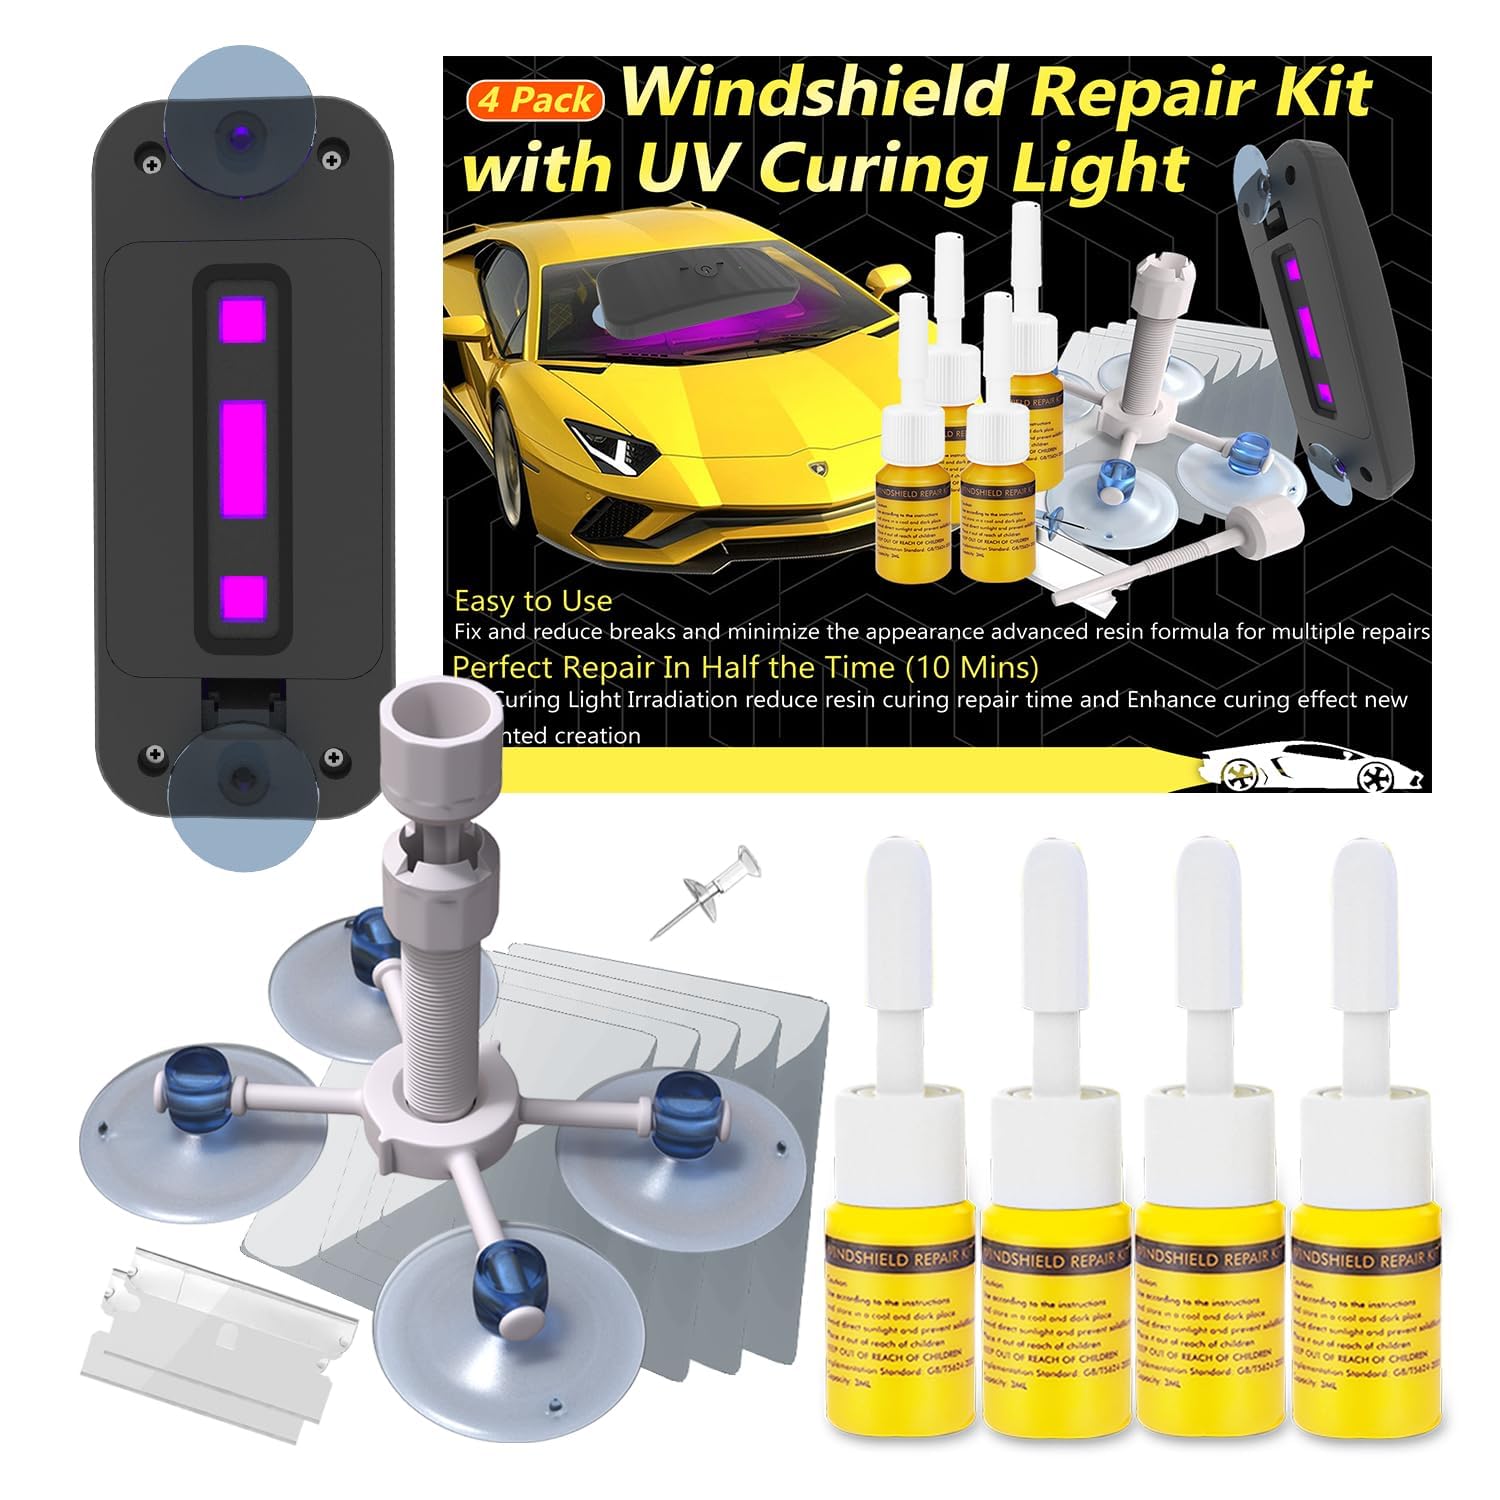
CLAMPER’s 4-piece kit earns its place for one specific reason: it stops crack propagation in sub-freezing temperatures. Verified user reports confirm that repairs performed at 19°F held without any running streaks, which is the exact failure scenario that cheaper resins suffer when the windshield’s thermal contraction pulls the crack wider. The 20 PA vacuum bridge paired with a dual-timer UV lamp (2-minute and 4-minute cycles) ensures the resin cures fully even when ambient light is low and temperatures are cold.
The updated recipe requires no mixing — just clean, apply the vacuum bridge, inject resin, and cure. The bright yellow components make the tools easy to find in a cluttered garage or toolbox, a small but appreciated detail when you’re working in dim morning light. Users note that repaired chips become nearly invisible on spider-web and bullseye damage, though the kit works best on cracks shorter than 12 inches.
For drivers in northern climates who need to stop a winter chip before it becomes a full windshield replacement, this kit’s cold-weather reliability is the defining feature. The UV lamp’s adjustable timer gives you control over cure depth, and the vacuum system pulls resin into fractures that atmospheric pressure alone would leave unfilled.
Why it’s great
- Proven to stop running streaks at 19°F
- Dual-timer UV lamp for precise curing
- Bright yellow tools easy to locate
Good to know
- Best results on cracks under 12 inches
- Vacuum bridge adhesive strips are single-use
5. FTSJVE USB-C Windshield Crack Repair Kit
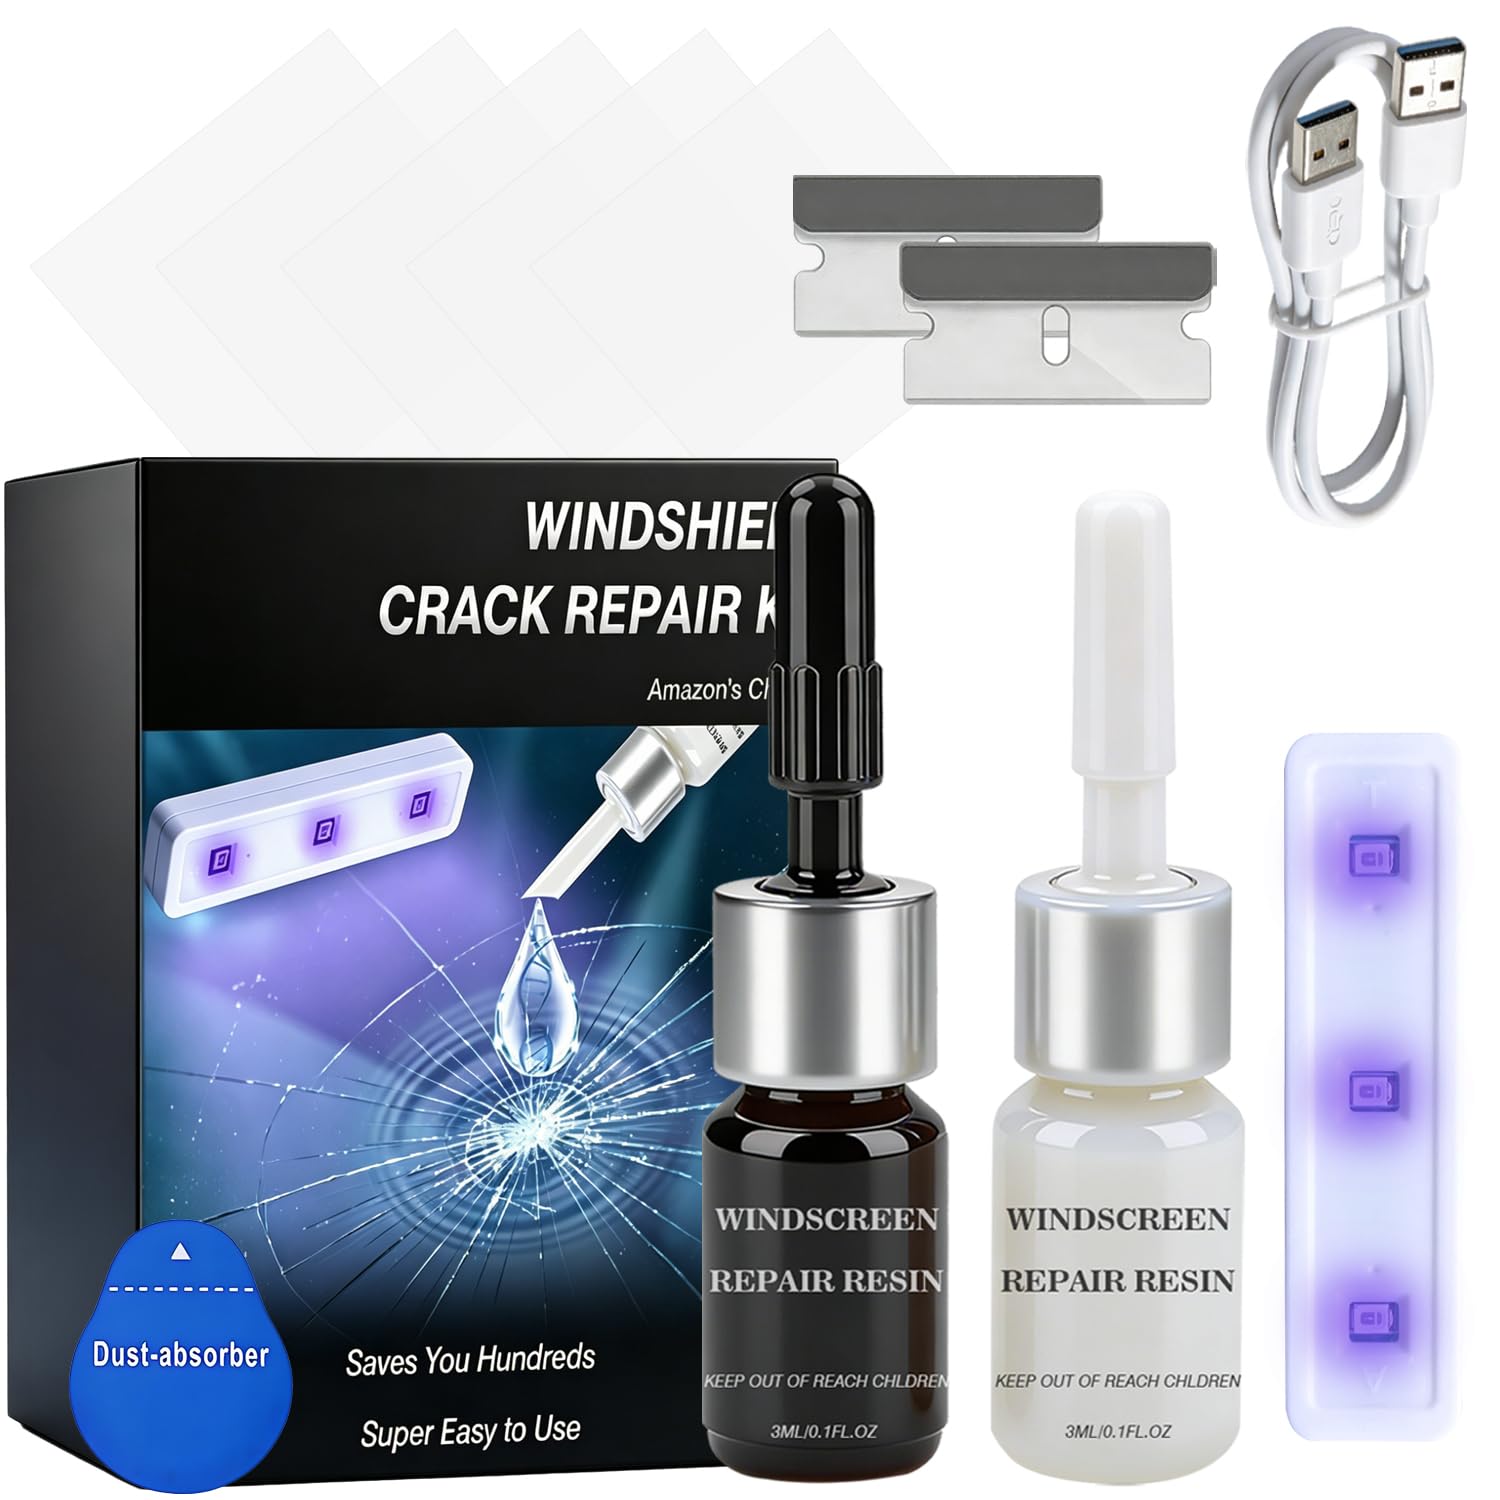
FTSJVE’s kit is the lightest and most portable entry in this roundup at just 1.44 ounces, with a USB-C powered curing lamp that eliminates the need for disposable batteries. The resin formulation penetrates chips and small cracks up to 12 inches long with excellent clarity, and users consistently report visible crack reduction within minutes of applying the UV light. The inclusion of a double-ended razor and extra resin means the kit can handle multiple repairs before running dry.
The trade-off for the low weight and compact size is the vacuum system — this kit relies on a sticker-based seal rather than a bridge injector, so it lacks the negative-pressure cycle that deeper fractures require. Users with shallow bullseye damage report near-invisible results, while those attempting to fill long, narrow cracks sometimes see residual air pockets that scatter light.
For emergency glovebox storage or a single low-stakes repair on an older vehicle, this kit delivers surprising effectiveness at a minimal investment. The USB-C lamp is a forward-thinking feature that lets you cure resin from a car charger, power bank, or laptop — no need to park in direct sunlight or wait for natural UV to finish the job.
Why it’s great
- USB-C lamp works from any power source
- Ultralight and compact for glovebox storage
- Extra resin for multiple repairs
Good to know
- Sticker seal lacks vacuum pressure for deep cracks
- May leave micro-bubbles in long, narrow fractures
FAQ
Can a DIY repair kit fix a crack longer than 12 inches?
Why does my repaired crack look cloudy instead of clear?
How long does the resin last once the bottle is opened?
Final Thoughts: The Verdict
For most users, the best diy windshield repair kit winner is the BLUTOKS Windshield Chip Repair Kit because its 20 PA vacuum bridge and adjustable UV lamp deliver professional-grade clarity at a mid-range price without requiring separate injector equipment. If you want the highest per-bottle yield and professional injector compatibility, grab the GlasWeld Resin. And for emergency glovebox storage or a single quick fix, nothing beats the portability of the FTSJVE USB-C Kit.

Mo Maruf
I created WellFizz to bridge the gap between vague wellness advice and actionable solutions. My mission is simple: to decode the research and give you practical tools you can actually use.
Beyond the data, I am a passionate traveler. I believe that stepping away from the screen to explore new environments is essential for mental clarity and physical vitality.