Our readers keep the lights on and my smoothie glass nicely filled. As an Amazon Associate, I earn from qualifying purchases.
Specs are compiled from manufacturer listings and verified buyer reviews and can change over time — please confirm the key details on the product page before buying.
You need a greenhouse that survives snow loads (the weight of snow on the roof), stands up to wind gusts, and keeps your plants at a steady temperature — without costing you a fortune in repairs every few years. The frame, the glazing (the clear panels that let in light), and the hidden anchors make the difference between a structure that lasts a decade and one that buckles in the first storm.
I’m Mohammad Maruf — the founder and writer behind WellFizz. This guide is built by comparing the manufacturers’ published specifications and the patterns across verified customer reviews, so you get each pick’s real strengths and trade-offs instead of marketing spin.
If you are looking for a structure that can handle serious weather and provide a stable environment for year-round growing, you have come to the right place. This guide breaks down the top options for a commercial greenhouse by comparing actual frame materials, panel thickness, vent count, and real owner experiences so you know exactly what you are buying before you assemble a single bolt.
Our Picks at a Glance
How To Choose The Best Commercial Greenhouse
A greenhouse for serious growing needs to do more than just let light in. It must withstand local weather, provide enough headroom and floor space for your plants, and let you control airflow and temperature. Here are the three things to focus on before you buy.
Frame Material and Construction
The frame is the skeleton that takes the worst of the wind and snow. Look for powder-coated aluminum — it resists rust and corrosion far better than steel or basic metal. Thickened corner posts and ground stakes are a strong sign the manufacturer expects the building to stay put. Many budget greenhouses use thin aluminum that bends during assembly, which buyers report as the top reason for returns.
Panel Type and UV Protection
Twin-wall polycarbonate panels trap heat better than single-wall options and diffuse sunlight so plants get even light instead of scorching hot spots. A good panel will also block UV rays (99.99% is the standard on premium models) while letting the beneficial growing light through. Thicker panels — around 6mm — also add structural rigidity to the whole building.
Ventilation and Access
Roof vents are your main tool for managing heat and humidity. The more vents you have, the more control you get over the internal climate. Look for adjustable vents that you can open at different angles. Double doors or a wide single door make it practical to move pots, soil bags, and equipment in and out without scraping your shoulders on the frame.
Quick Comparison
| Model | Best For | Dimensions (L x W x H) | Number of Vents | Frame Material | Amazon |
|---|---|---|---|---|---|
| Yardenaler 8×16 FT★ Best Overall | Mid-Range Versatility | 189.56″ x 97.3″ x 90.5″ | 2 | Aluminum | Amazon |
| Jocisland 16x12x9.5 FT | Maximum Space & Durability | 192″ x 144″ x 114″ | 2 | Aluminum | Amazon |
| WKM 10×18 FT | Best Overall Value | 213.6″ x 120.1″ x 98″ | 5 | Aluminum | Amazon |
| Esimote 10×12 FT | Budget-Friendly Entry | 142.7″ x 120.1″ x 98″ | 1 | Aluminum | Amazon |
In‑Depth Reviews
1. Yardenaler 8×16 FT Greenhouse
The mid-range kit that a 65-year-old with arthritis built herself in three days.
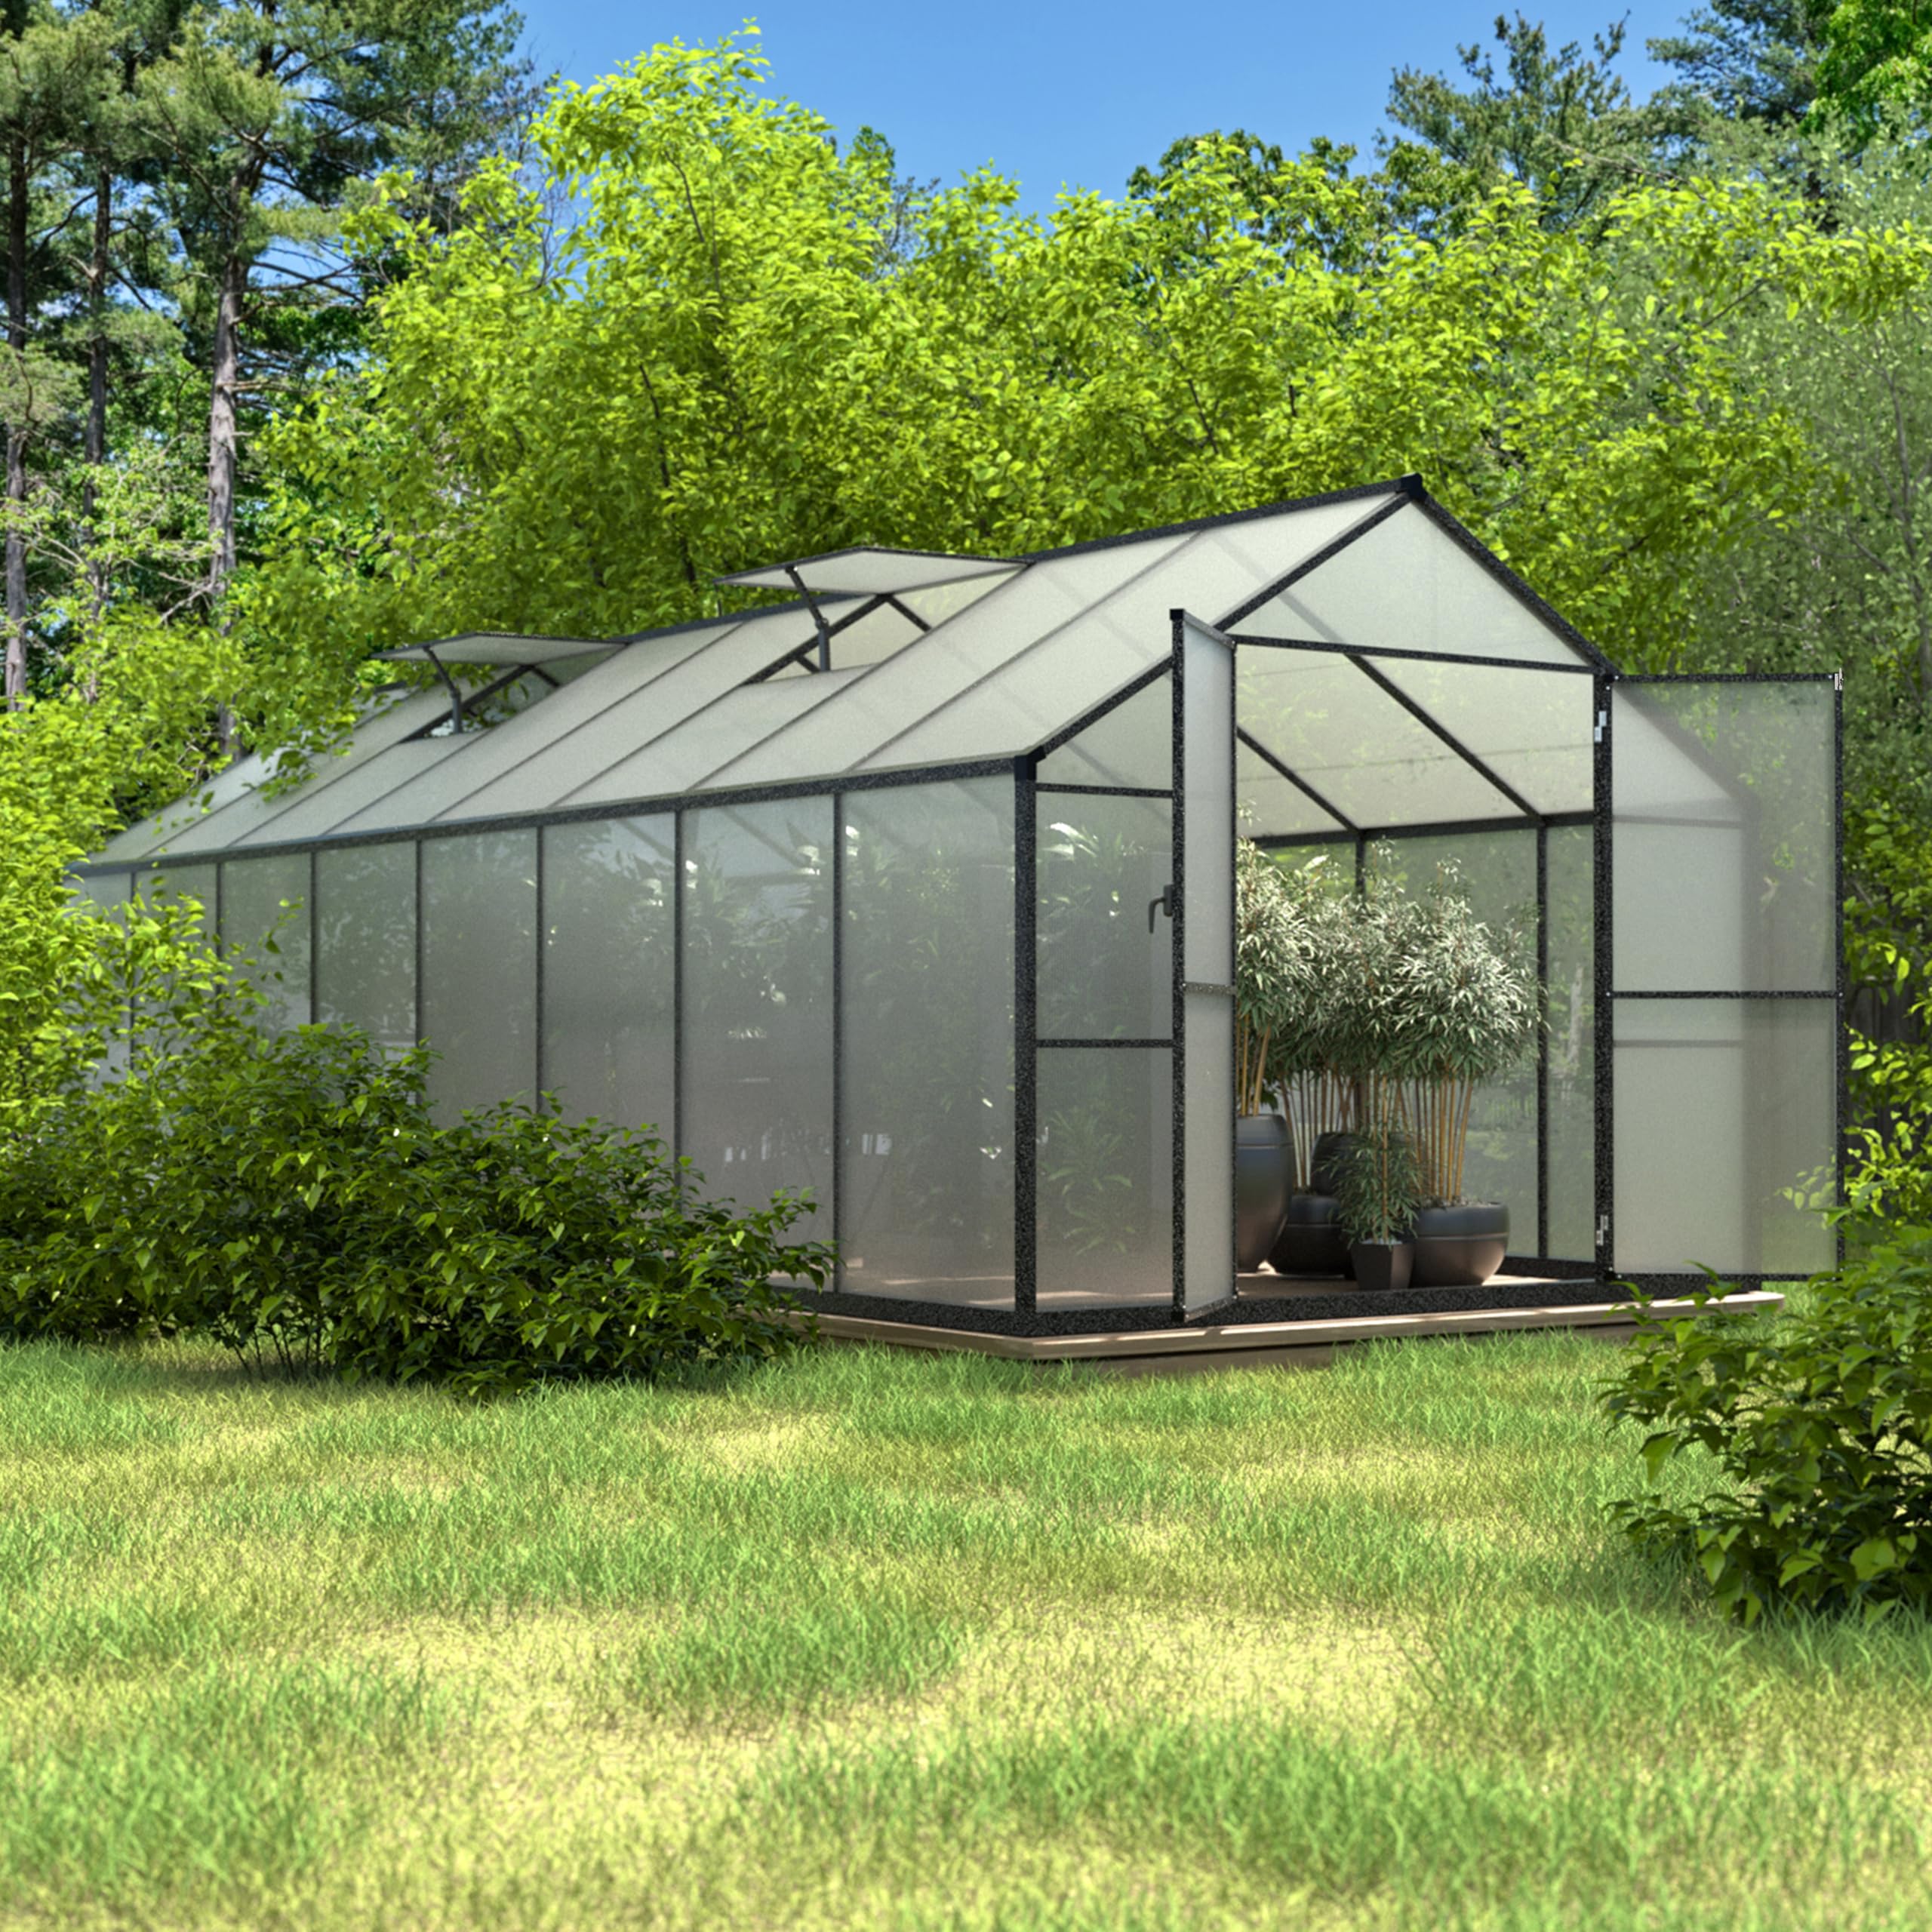
The Yardenaler 8×16 FT greenhouse measures 97.3 inches wide by 189.56 inches deep and 90.5 inches tall, so it is slightly shorter than the WKM but still offers a generous growing area at a lower price point. The 8×16 footprint (when converted to feet, 8×16 FT) is smaller in width (97.3 inches versus the Esimote’s 120.1 inches), but the extra length gives you room for two rows of benches or a dedicated potting area at one end.
It comes with two adjustable roof vents operated by pulleys, which gives you two vents versus the single vent on the Esimote below. The door has a swing-out lockable design — a practical upgrade that buyers appreciate because it keeps the door from sliding off its track over time. One reviewer, a person with arthritis in her 60s, reports she assembled it in three days without help, which suggests the instructions and part fit are more user-friendly than most. Another reviewer noted that the directions are not clear in spots and that there are gaps at the bottom of the doors that require caulking to keep cold air out.
If you want a greenhouse that balances size, ventilation, and assembly ease without jumping to the premium tier, the Yardenaler is the most approachable build. The shorter height (90.5 inches) is the main trade-off — you will have to stoop if you are over six feet tall.
Why Buyers Like It
- Swing-out lockable door is more durable than sliding doors on windy days.
- Two pulley-operated vents give decent airflow control for the price.
- Several shoppers say they assembled it without needing a second person.
Where it Falls Short
- Bottom of the doors has noticeable gaps that need caulking or tape to seal.
- At 90.5 inches tall, taller users will have to bend when working near the edges.
- Interior dimension at 92.8 inches wide means less aisle space for two people to work.
Best for the solo gardener who values assembly ease: If you plan to build it yourself and want a structure that goes together without a crew, this is the strongest mid-range option here.
The thing to plan for in advance: You will need to seal the door gap with caulk or tape to keep out drafts — budget an extra afternoon for that step.
2. WKM 10×18 FT Greenhouse
The long, vent-rich workhorse that survived thunderstorms before it was fully built.
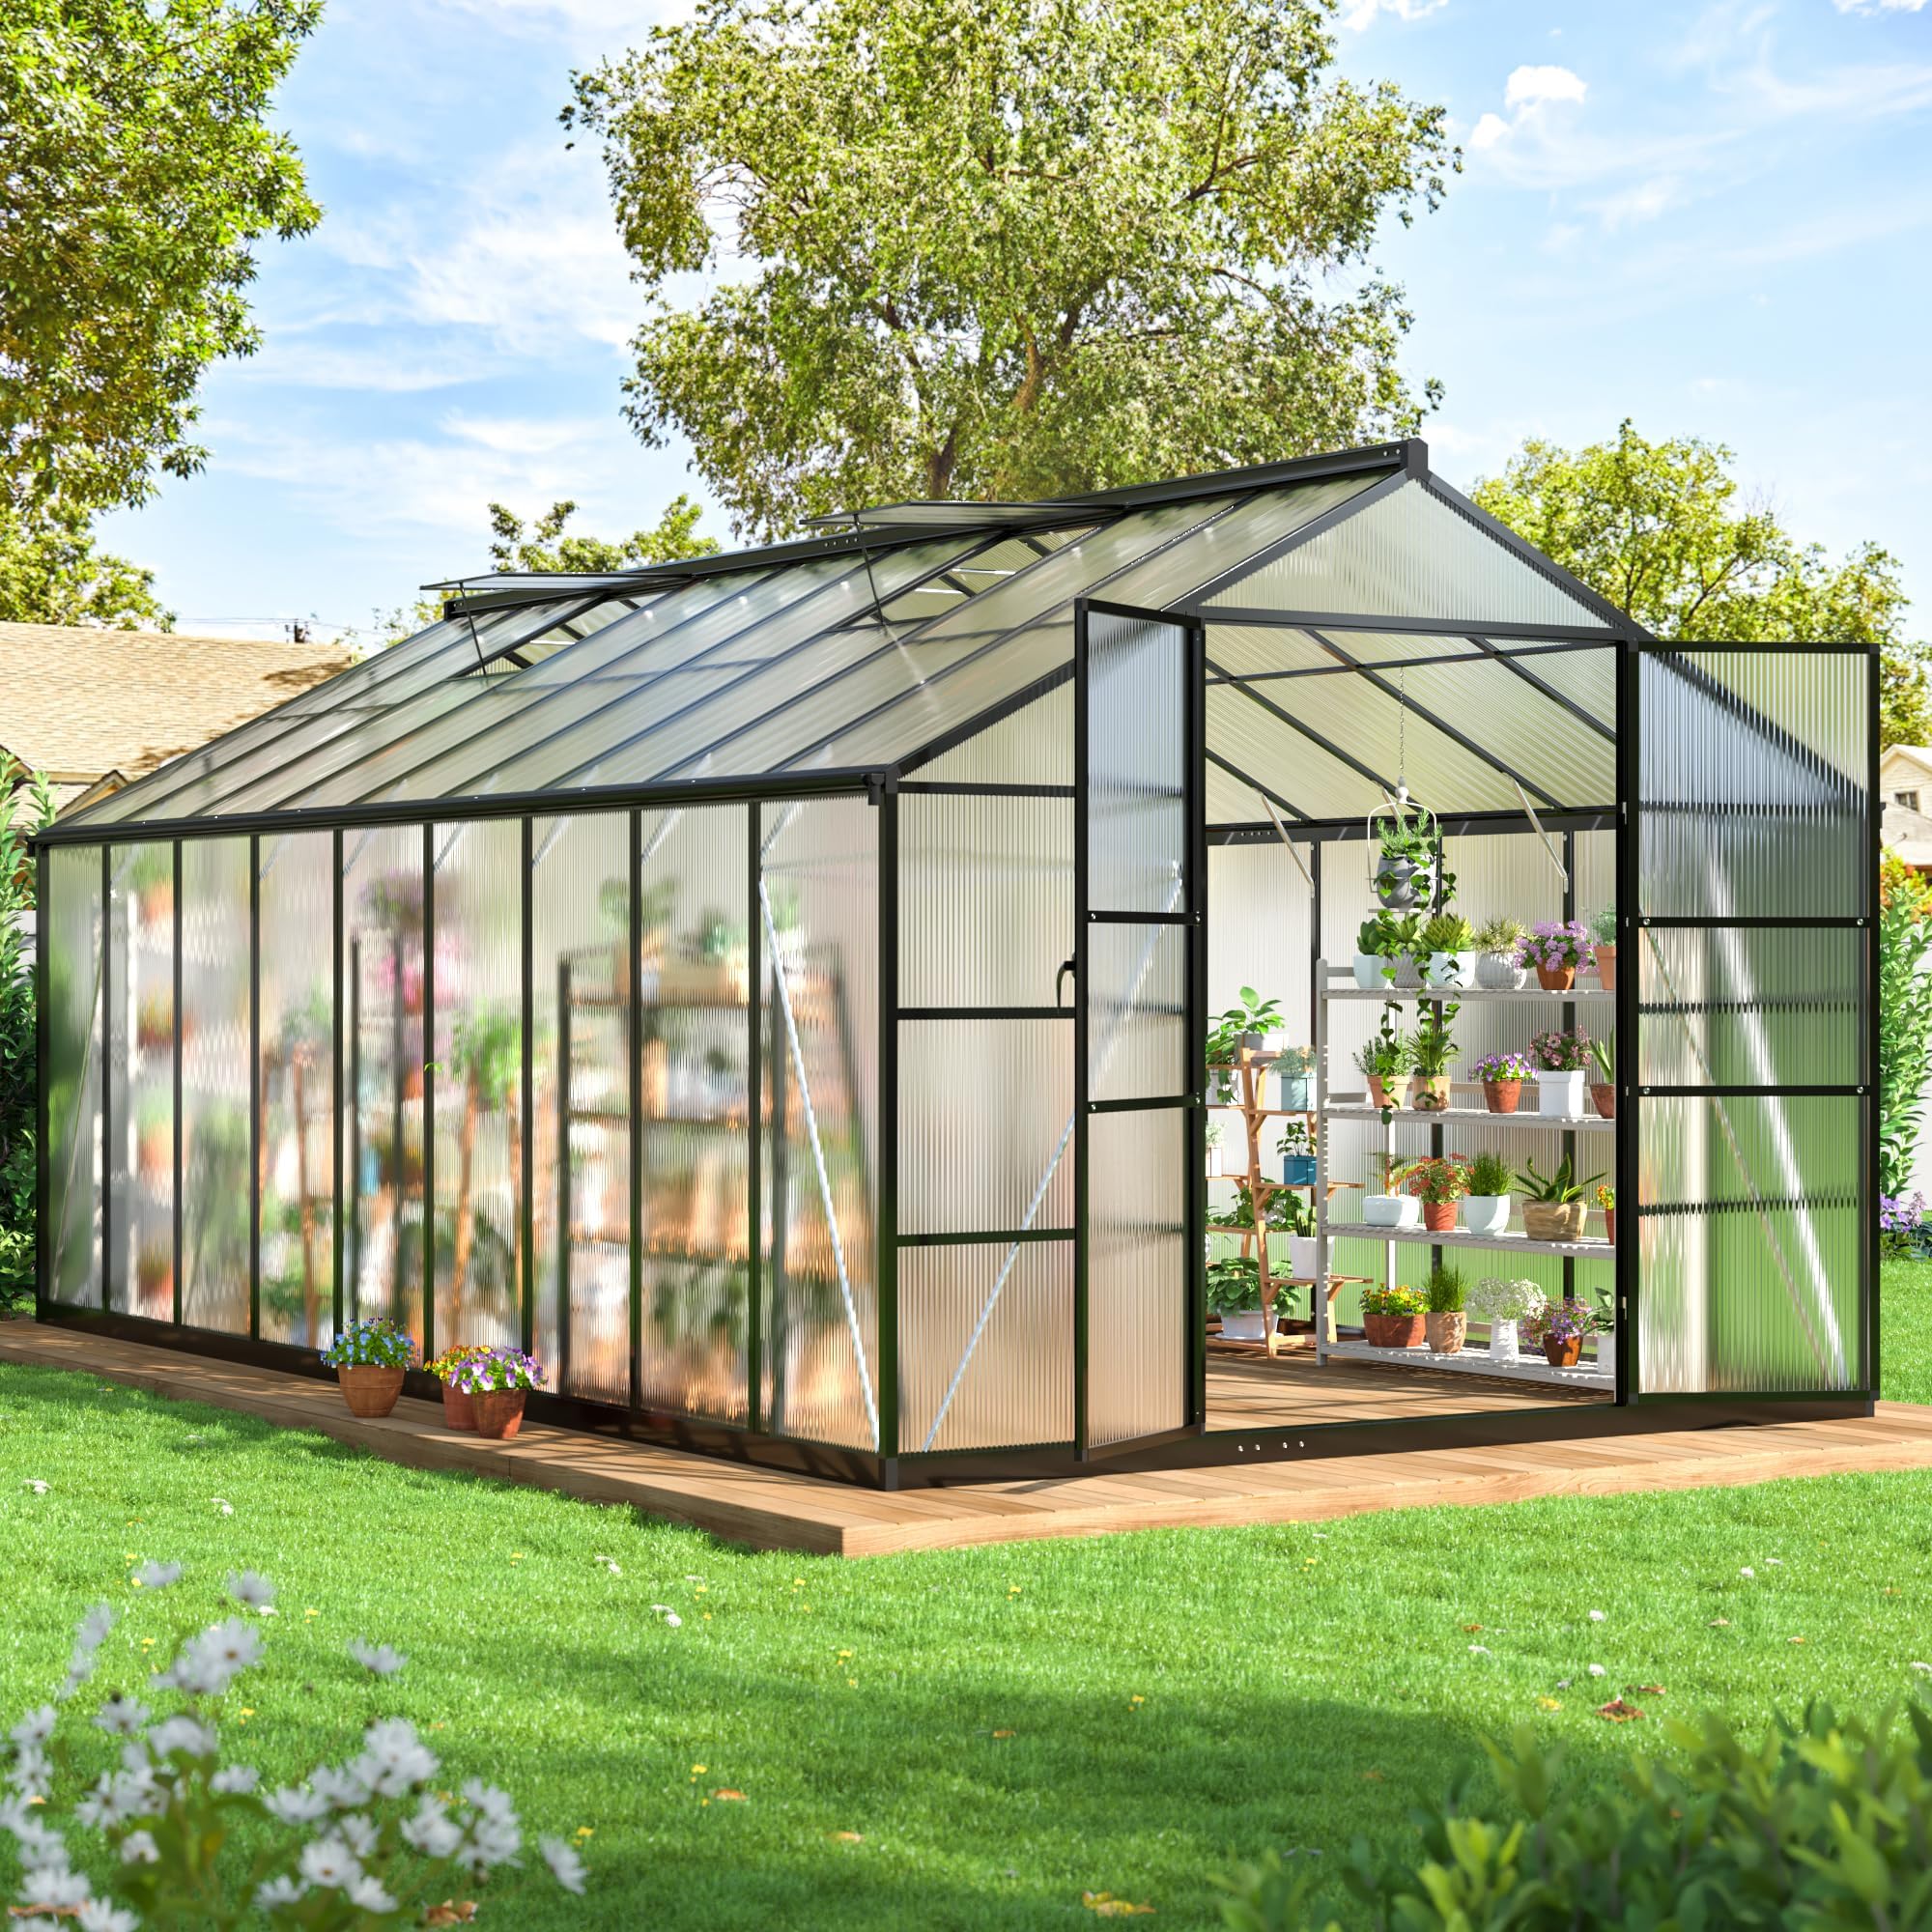
The WKM 10×18 gives you generous length and serious ventilation. At 213.6 inches long by 120.1 inches wide and 98 inches tall, it offers 213.6 inches of length versus 142.7 inches on the Esimote 10×12 — so you have room for multiple growing rows plus a workspace for potting and storing tools. The five roof vents (openings in the roof that release hot air) let you control airflow from one end to the other, which is critical when you are managing temperature differences across a longer greenhouse. That is five vents versus the Esimote’s single vent.
The frame is reinforced aluminum with a lockable door and a metal handle. Owners mention a specific test of its durability: one owner wrote that during assembly he faced “thunderstorms high winds some rain and it’s still standing.” The slide-in panel assembly system is designed to cut installation time by 30% and improve stability by 15%, according to the manufacturer. That said, some customers note the instructions can be vague in spots, and a roof piece arrived bent for one owner — so check panels before you begin assembly.
The 10×18 gives you the longest growing space in this group without jumping into the premium price bracket. If you want to plant in rows and need airflow control from front to back, this is the most practical pick.
What Stands Out
- Five roof vents give class-leading airflow control for a greenhouse in this range.
- Slide-in panel system speeds up assembly compared to sliding-panel kits.
- Lockable door and metal handle add security and daily convenience.
Watch Out For
- Instructions skip some steps; expect to redo a few sections as you learn the layout.
- Some reviewers point out panels arriving bent or frames needing straightening before assembly.
- The structure is lightweight until fully assembled — anchoring to concrete or ground stakes is essential.
the balance for serious growers: This is the pick for anyone who needs a long, vent-heavy greenhouse for year-round planting, but it requires patience during setup and a firm foundation.
The main trade-off to know: The frame metal is light enough to bend by hand, so you must anchor it properly and handle parts carefully during installation.
3. Jocisland 16x12x9.5 FT Greenhouse
The biggest and heaviest greenhouse here, built for a permanent foundation.
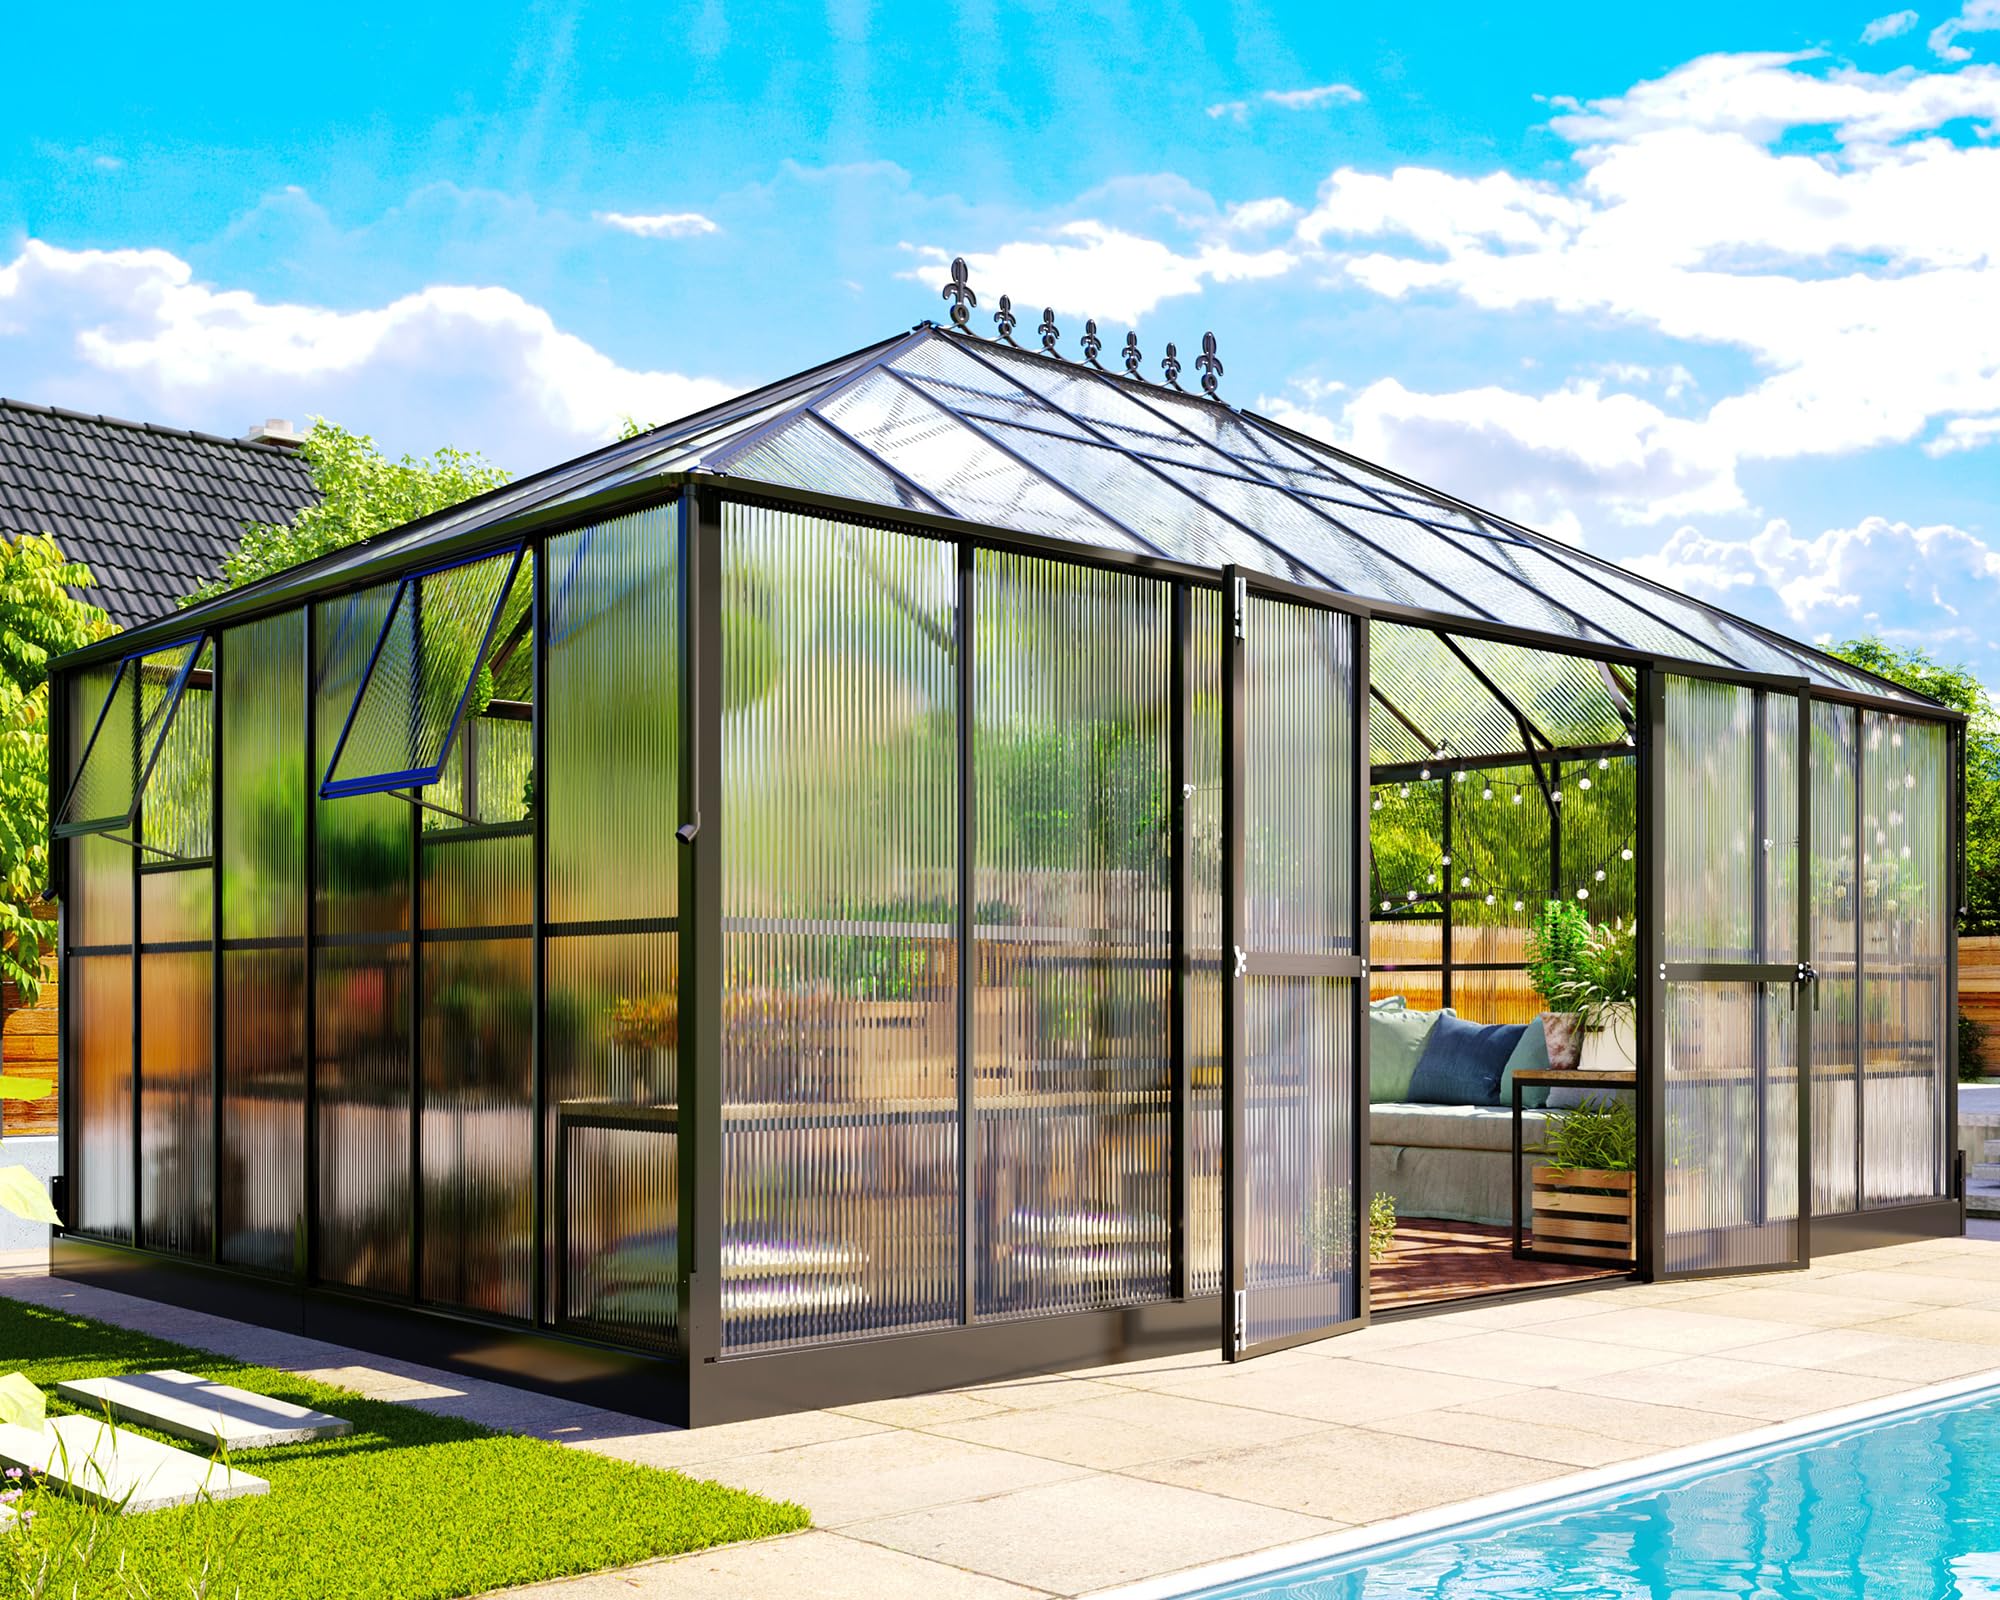
At 192 square feet of floor area and 1,170 cubic feet of interior volume, the Jocisland is the largest greenhouse in this comparison. It stands 114 inches tall with a 6-foot wall height, which means you can stand upright near the edges without ducking — a real advantage if you are tall or plan to install shelving. The 6mm twin-wall polycarbonate panels provide 99.99% UV protection, blocking harmful rays while creating a warm, diffused light environment that helps plants thrive.
The structure uses four thickened corner posts and ground stakes rated for a 1000 lb weight capacity, a wind rating of 56 mph, and a snow load capacity of 18 psf. That is a meaningful spec for anyone in a region with snow or heavy storms. The double doors are 52.8 inches wide and 70.8 inches tall — wide enough to move wheelbarrows and large pots through without scraping. Buyers mention that once assembled, it draws compliments and feels very strong, though one reviewer noted that in high winds the included hold-down tabs are not sufficient without additional anchoring to a concrete foundation. Assembly is estimated at 12 hours for a three-person team, and several reviewers warn that the instructions have part-number errors that will force you to backtrack.
If you have the budget and the space for a permanent foundation, this is the most sturdy, spacious option here. It is not a weekend project with two people — plan for a full week of assembly and a concrete base for maximum durability.
Volume and build quality winner: The Jocisland delivers a genuinely large, heavy-duty greenhouse that can handle snow loads and wind, but the assembly process is demanding and the instructions will test your patience.
The catch to consider before buying: You need a firm, level foundation (the manual recommends a 17×13 FT concrete slab), and even then, buyers suggest adding extra anchors or tie-downs for high-wind security.
Best for the dedicated year-round grower: Choose this one if you have the space, the help, and the tolerance for a complex build — the result is a greenhouse that looks and performs like a permanent structure.
Not ideal for a quick setup: If you need something assembled in a weekend with two people and minimal frustration, this model is likely overkill and under-instruction.
4. Esimote 10×12 FT Greenhouse
The budget-priced entry that offers a solid 10×12 footprint with one critical vent limitation.
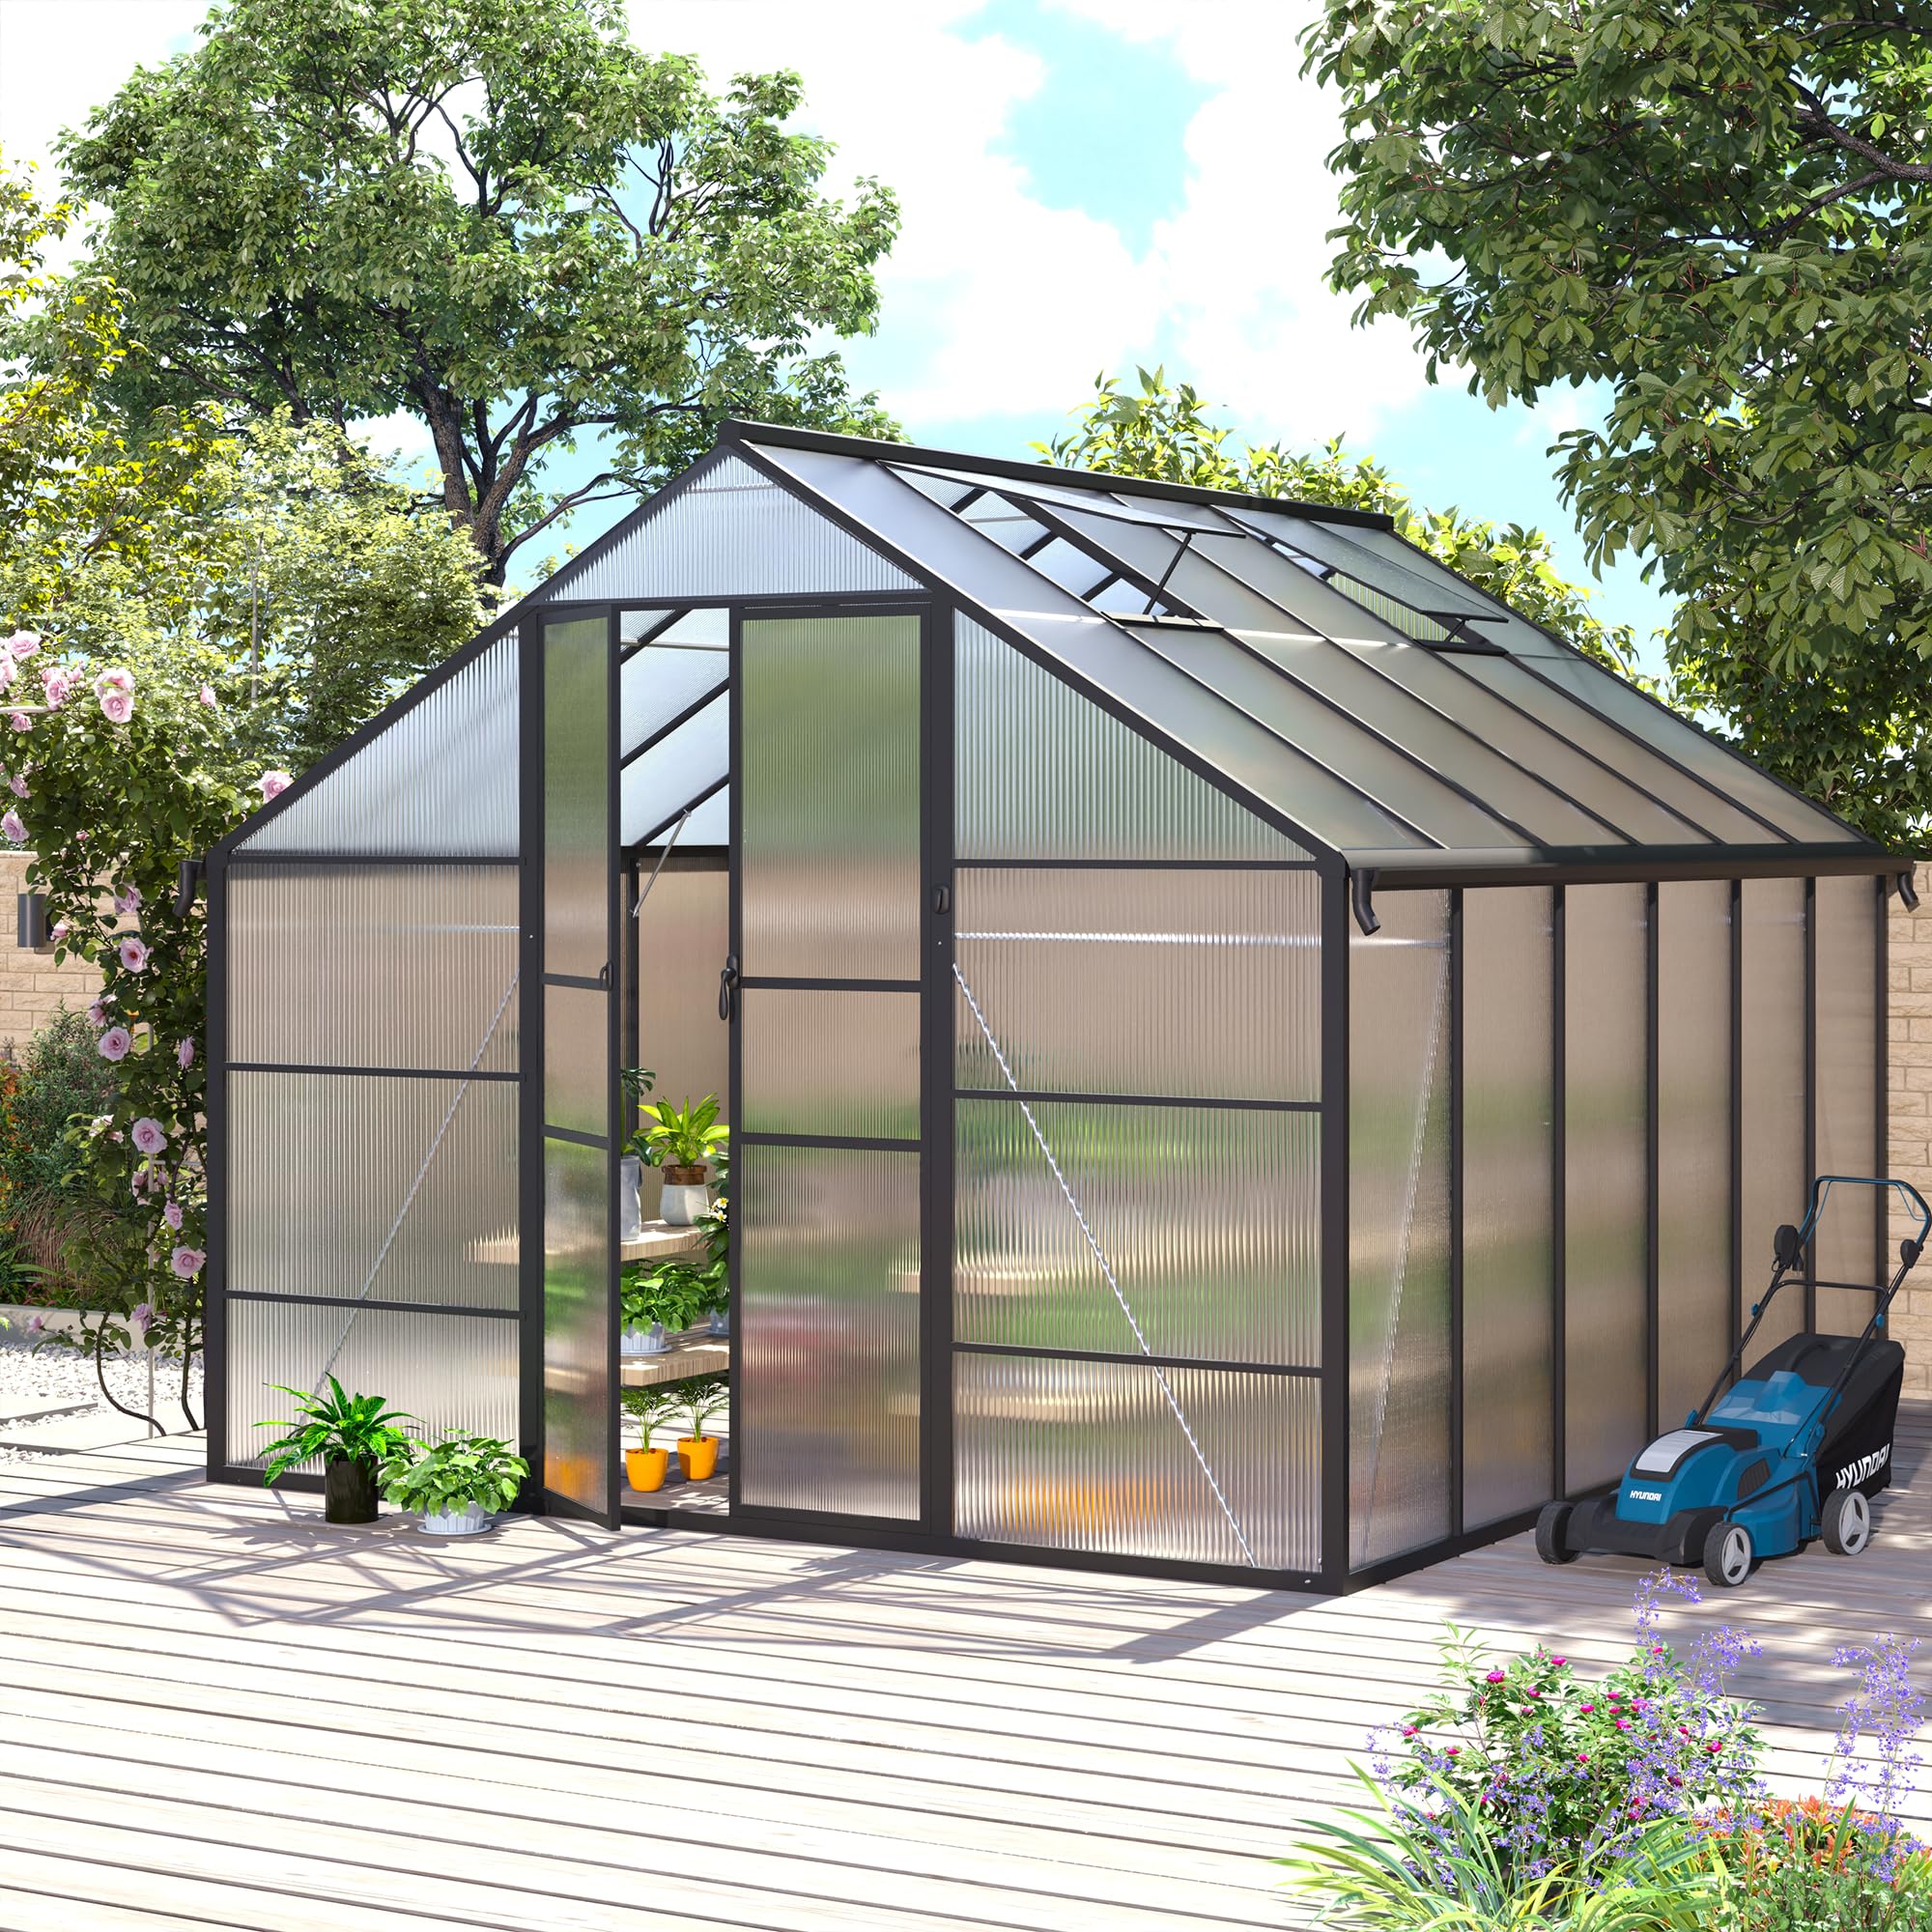
The Esimote 10×12 FT greenhouse has a footprint of 120.1 inches wide by 142.7 inches deep and 98 inches tall, giving it the same width as the WKM but in a shorter package. It uses a single adjustable roof vent with five levels for airflow control, which is functional but means you have no backup vent if wind direction changes or if you need to exhaust hot air on a still day. For comparison, the WKM has five roof vents and the Yardenaler has two — so the Esimote is clearly the most limited in air management.
The frame is reinforced aluminum, and the greenhouse comes with a built-in drainage channel that can be connected to pipes for rainwater irrigation — a thoughtful feature that is absent from the other models in this list. The door is a sliding design, which buyers report can be a bit short: one reviewer who is 5’5″ reports she has to duck to get through the 23.2-inch wide door opening without hitting her head. Assembly feedback is mixed — some call it fun and straightforward like a big erector set, while others describe it as a nightmare that took four hours to get a quarter done, with flimsy side window plastic.
If your budget is tight and you can live with a single vent and short door, the Esimote gets you into a polycarbonate aluminum greenhouse at the lowest entry cost. But the ventilation limits and mixed build quality make it a compromise pick rather than a long-term investment.
The Pros
- Built-in drainage channels make rainwater collection and irrigation simple.
- 98-inch height gives good headroom for most people at the center ridge.
- At 41 reviews and a 4.1 rating, it has the most buyer feedback of the four.
The Cons
- Single roof vent limits your ability to control temperature in hot weather.
- Sliding door is short — even 5’5″ reviewers report ducking to enter.
- Some owners mention damaged panels and a frustrating assembly process.
The budget stopgap: Get this one if you need a polycarbonate greenhouse now and your main constraint is spending as little as possible — it will shelter plants but will test your patience during build and every hot afternoon.
Not for serious climate control: If you live in a region with hot summers or plan to grow temperature-sensitive crops, the single vent is a real bottleneck — look at the Yardenaler or WKM instead.
Understanding the Specs
Number of Roof Vents
The roof vents are your main tool for releasing hot air that builds up at the peak of the greenhouse. More vents mean you can create cross-flow even on still days and fine-tune the temperature in different zones of the building. A single vent (like on the Esimote) forces you to rely on opening the door for airflow, which is less effective and can let in pests. Two vents (Yardenaler) are workable for a short greenhouse. Five vents (WKM) give you real zone control across a long growing space.
Frame Weight and Material
A greenhouse’s frame material and overall weight tell you how it will respond to wind and snow. Powder-coated aluminum resists rust and keeps the structure light enough to assemble without a crane, but lighter frames (like the WKM and Esimote) require very firm anchoring or they can shift in high gusts. The Jocisland weighs 299 pounds — the heaviest here — and uses thickened corner posts, which translates directly into better stability without relying as much on concrete anchors.
FAQ
How do I anchor a polycarbonate greenhouse to the ground?
Will a polycarbonate greenhouse survive heavy snow?
What is the difference between twin-wall and single-wall polycarbonate panels?
How many vents do I need for a 10×18 greenhouse?
Can I assemble a large greenhouse by myself?
Why does the door on some greenhouses have a gap at the bottom?
What foundation do I need for a commercial greenhouse?
How long does it take to assemble a greenhouse kit?
Final Thoughts: The Verdict
For most growers, the best commercial greenhouse is the WKM 10×18 FT because it offers five roof vents, a long 213.6-inch growing space, and a price that undercuts larger premium models. If you have the budget and need a true permanent structure with a 1,170 cubic foot interior and a rated snow load, grab the Jocisland 16x12x9.5 FT. And for the solo gardener on a mid-range budget who wants a manageable assembly, the Yardenaler 8×16 FT is a solid choice.
How We Picked
We do not accept paid placement. Every pick is matched to a real buyer and a real use-case; we do not hands-on test units.
Sources & Methodology
Specifications: manufacturer listings and product documentation. Review insights: verified customer reviews, as of July 2026. Pricing: not shown on this page (it changes often); check the current price via the retailer link.
As an Amazon Associate, WellFizz earns from qualifying purchases. This does not affect which products we feature.
Related Guides

Mo Maruf
I created WellFizz to bridge the gap between vague wellness advice and actionable solutions. My mission is simple: to decode the research and give you practical tools you can actually use.
Beyond the data, I am a passionate traveler. I believe that stepping away from the screen to explore new environments is essential for mental clarity and physical vitality.