Gentle whitening starts with low-abrasive brushing, controlled peroxide contact, and daily fluoride so enamel stays strong.
Want a brighter smile, not tender teeth? You can whiten safely when you treat enamel and gums as the limiters, not your patience.
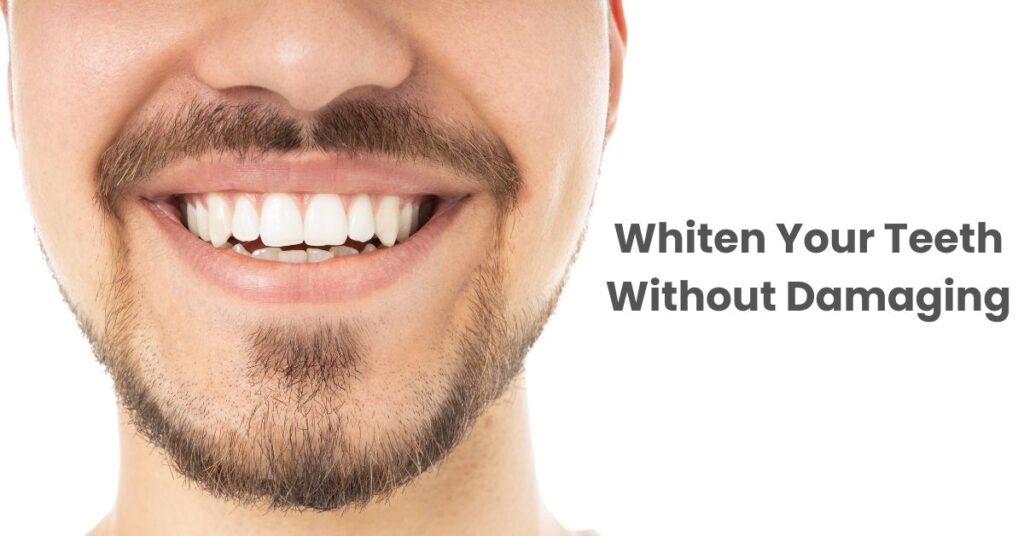
Learn how stains form and how to whiten your teeth without damaging them, using rules that keep it comfortable.
Why teeth look darker
Most color change comes from surface stain or deeper shade shifts. Surface stain sits on enamel from food, drinks, tobacco, and plaque. Deeper shifts come with age as enamel gets thinner and the dentin under it shows through more.
- Common surface stains: coffee, tea, red wine, dark soda, curry, tobacco.
- Deeper changes: aging, past trauma to one tooth, some medications, old fillings at the edges.
Guardrails that keep enamel calm
Enamel is hard, yet once it’s worn away it does not grow back. The safest whitening habits lower friction, avoid acids on teeth, and limit peroxide contact time.
- Skip gritty scrubs: powders and charcoal mixes can scratch surfaces and make stain stick later.
- Keep acids off teeth: lemon and vinegar soften enamel, then brushing or whitening can feel rough.
- Go slower: smaller changes with rest days tend to look smoother than rushing.
- Keep fluoride daily: it helps enamel re-harden after meals and whitening sessions.
Whitening methods compared before you start
Use this snapshot to match your stain type, time, and sensitivity level with a method that stays gentle.
| Method | What it can do | How to keep it gentle |
|---|---|---|
| Whitening toothpaste | Polishes off surface stains over weeks | Soft brush, light pressure, steady two-minute brushing |
| Whitening mouthwash | Minor surface lift; freshens breath | Alcohol-free is kinder to gums; stop if you feel burning |
| OTC whitening strips | Noticeable shade change for many people | Use the shortest wear time that still works; keep strips off gums |
| Paint-on whitening gel | Targets a few teeth or small areas | Thin coats; keep lips and gums dry so gel stays on teeth |
| Dentist-made tray kit | Even whitening with a custom fit | Follow wear-time rules; wipe away gel that squeezes onto gums |
| In-office whitening | Fast change in one visit for many people | Ask about gum shielding and sensitivity steps before treatment |
| Touch-up pens | Small boosts between full cycles | Short bursts only; don’t use day after day |
| Professional cleaning first | Removes buildup that can mute results | Helpful if plaque or tartar is part of the discoloration |
| Veneers or bonding | Color change when whitening can’t help | Only after a dentist checks stain cause and gum health |
Start with stain control basics
These habits can brighten surface stains on their own and make peroxide whitening more even later. Try them for two weeks before you buy a stronger product.
- Brush twice daily for two minutes. Soft bristles and small circles at the gumline.
- Ease up on pressure. If bristles flare fast, you’re pushing.
- Clean between teeth once a day. Stain-prone plaque hides there.
- Rinse with water after dark drinks. A quick swish helps.
- Wait after acidic foods. Let enamel firm up again before brushing.
A quick mouth check before you whiten
Whitening works best on healthy teeth. If the mouth is already irritated, whitening can feel rough and can make a small issue feel loud. A two-minute check can save you from wasting a box of strips.
- Sharp pain on one tooth: that can point to decay, a crack, or a loose filling.
- Bleeding gums when brushing: whitening gel can sting inflamed tissue.
- New chips or rough edges: gel can seep into tiny defects and spark sensitivity.
- Lots of old fillings on front teeth: natural enamel may lighten while fillings stay the same shade.
If any of these are going on, book a dentist visit first. Once teeth and gums are settled, whitening is far more comfortable.
Timing meals, drinks, and brushing during a whitening week
What you do between sessions can change how your mouth feels. Many people notice extra sensitivity when they whiten and also drink a lot of acidic or dark beverages.
Try these habits during whitening weeks.
- Keep acidic drinks away from a session. If you have citrus, soda, or sports drinks, leave a gap before whitening.
- Use water as your reset button. A swish after coffee or tea helps wash pigments off enamel.
- Wait to brush after acidic food. Brushing too soon can scrub softened enamel.
- Choose snacks that don’t stain. Yogurt, nuts, and cheese tend to be gentler choices than dark sauces.
Whitening teeth without damage for sensitive teeth
Sensitive teeth can still whiten, but they need a slower pace and cleaner technique. Sensitivity often comes from peroxide moving through enamel and dentin, or from gel touching gums.
Pick products with clear labels
Most whitening relies on hydrogen peroxide or carbamide peroxide. Both can irritate tissue when overused, so start with the lowest strength you can stick with.
The American Dental Association notes that whitening is meant for natural teeth and may not change the color of crowns, veneers, or tooth-colored fillings. Read their overview on ADA whitening options before you spend money on a method that can’t change restorations.
Use a “two days on, one day off” rhythm
Rest days cut sensitivity for many people. Keep the same product, just reduce frequency.
- Day 1: one session
- Day 2: one session
- Day 3: rest day, no whitening
If teeth feel zingy, pause for 48 hours, keep fluoride brushing, then restart with fewer sessions per week.
Shield gums every time
Keep strips and gels off the pink tissue. Trim strips if they’re wide, and wipe away gel that squeezes out. If you have exposed roots or gum recession, hold off on DIY whitening until a dentist checks the area.
How To Whiten Your Teeth Without Damaging Them
Use this routine with strips, paint-on gels, or a dentist-made tray kit.
- Do a small spot test. Treat two teeth for the shortest wear time, then wait 24 hours.
- Brush and floss first. Cleaner enamel whitens more evenly.
- Dry teeth lightly. A quick pat helps strips and gels stay put.
- Time it. Stop right on schedule; longer wear is a common trigger for sensitivity.
- Rinse with water. Keep acidic drinks off teeth for a few hours after a session.
- Take rest days. When sensitivity rises, lower frequency before you lower strength.
What peroxide whitening should look like at home
Think of peroxide contact time like a budget. Spend it carefully, then stop. Stacking methods is where people get into trouble.
- Follow the wear time on the label. No bonus minutes.
- Use one whitening method at a time. Don’t mix strips, gels, and whitening rinses in the same week.
- Stop if gums burn. A burn feeling is a stop signal.
- Store products as directed. Heat can change gels.
The NHS notes that whitening chemicals can be strong and that dentist-provided options are the safest route for many people. Their page on teeth whitening safety lays out what home kits and in-clinic whitening usually involve.
Whitening toothpaste and polishing without scratches
Whitening toothpaste lifts surface stains and can help maintain results after a peroxide cycle. It works best when you trade pressure for time.
- Stick with soft bristles. Harder brushes can wear edges near gums.
- Skip DIY powders. Homemade pastes are easy to overdo.
- Avoid “dry brushing.” Add water so paste slides instead of scouring.
DIY whitening tricks that can backfire
Kitchen-counter hacks often use acid or harsh abrasion. Both can roughen enamel, and rough enamel stains faster.
Skip straight lemon, vinegar rinses, and aggressive charcoal brushing. If you want a home-based route, stick with products made for teeth and used as directed.
How to handle sensitivity without quitting
A little sensitivity can pop up during whitening. Keep it mild and short-lived by responding early.
Use the table below to match what you feel with a response that protects enamel and gums.
| What you feel | What to do next | When to stop and get a dental check |
|---|---|---|
| Quick cold zing on one tooth | Pause for 48 hours; use sensitivity toothpaste nightly | Sharp pain that lasts minutes or wakes you up |
| General sensitivity on many teeth | Shorten wear time; switch to every other day | Pain with chewing or tapping teeth together |
| Gums look white or irritated | Stop for a few days; rinse with water; avoid gel contact | Bleeding that doesn’t settle or sores that don’t heal |
| Uneven patches after a few uses | Clean well, then continue at a slower pace | A single dark tooth that doesn’t lighten at all |
| Teeth feel rough after whitening | Drop abrasive products; use fluoride toothpaste only for a week | Visible chips, cracks, or a new notch near the gumline |
| Dry mouth during whitening week | Drink water often; avoid alcohol rinses | Dry mouth with burning or trouble swallowing |
| Jaw ache from trays | Reduce wear time; check tray fit | Pain in the jaw joint or locking |
Keeping teeth lighter once you’re done
Maintenance is simpler than repeating a full cycle. Small habits reduce new stains.
- Rinse after stain drinks. Water right after coffee helps.
- Use a straw at times. It keeps pigment off front teeth.
- Book cleanings on schedule. They remove tartar that traps stains.
A simple 10-day routine that stays gentle
Use this routine when you want a clear start and stop point, with rest days built in.
- Days 1–3: tighten brushing and flossing, no whitening yet.
- Day 4: first whitening session at the shortest wear time.
- Day 5: second session, same wear time.
- Day 6: rest day, fluoride brushing only.
- Day 7: third session.
- Day 8: rest day.
- Day 9: fourth session if teeth feel fine.
- Day 10: check color in daylight, then stop or keep the rhythm for one more week.
When you’re done, shift to maintenance: whitening toothpaste a few times per week, and a short touch-up cycle only when stains return.
If you keep asking how to whiten your teeth without damaging them while dealing with cavities, broken fillings, or gum disease, pause whitening. Fix the mouth first, then restart.
References & Sources
- American Dental Association (ADA).“Whitening.”Reviews whitening options, limits on restorations, and common whitening ingredients.
- NHS (UK).“Teeth whitening.”Explains safer ways to whiten and what home kits and dentist-led treatment involve.

Mo Maruf
I created WellFizz to bridge the gap between vague wellness advice and actionable solutions. My mission is simple: to decode the research and give you practical tools you can actually use.
Beyond the data, I am a passionate traveler. I believe that stepping away from the screen to explore new environments is essential for mental clarity and physical vitality.